Followers

9/28/10

Painting Gallery of Animal Habitat Watercolor Paintings

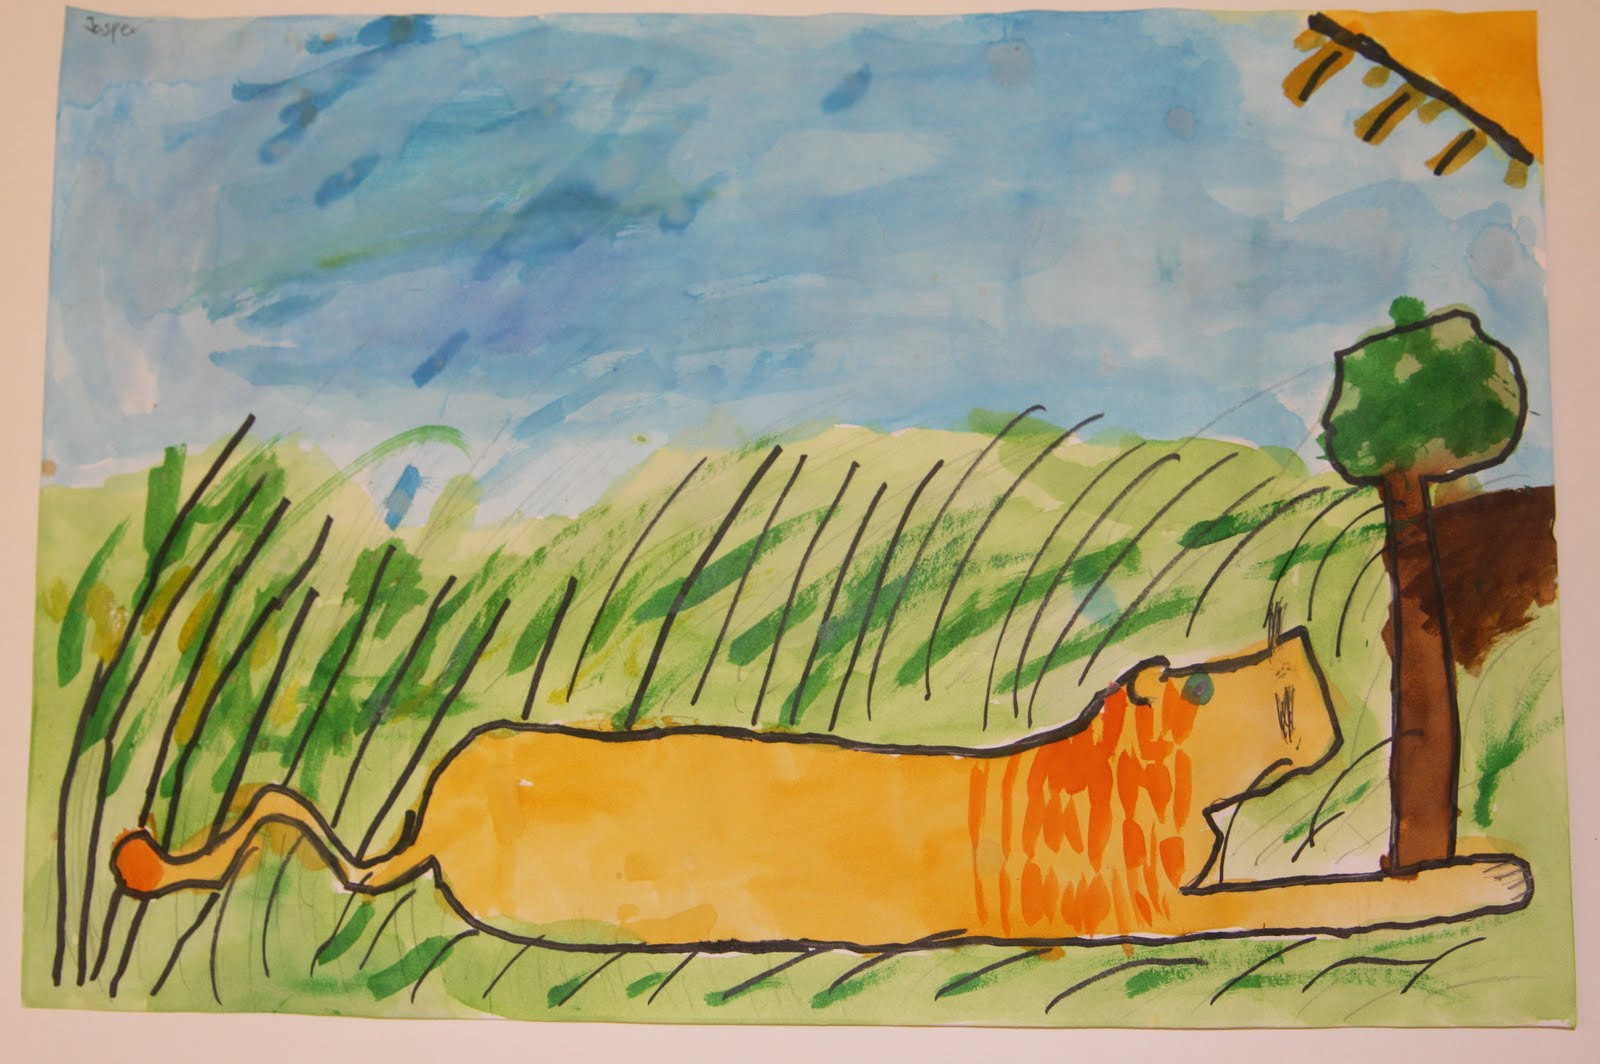
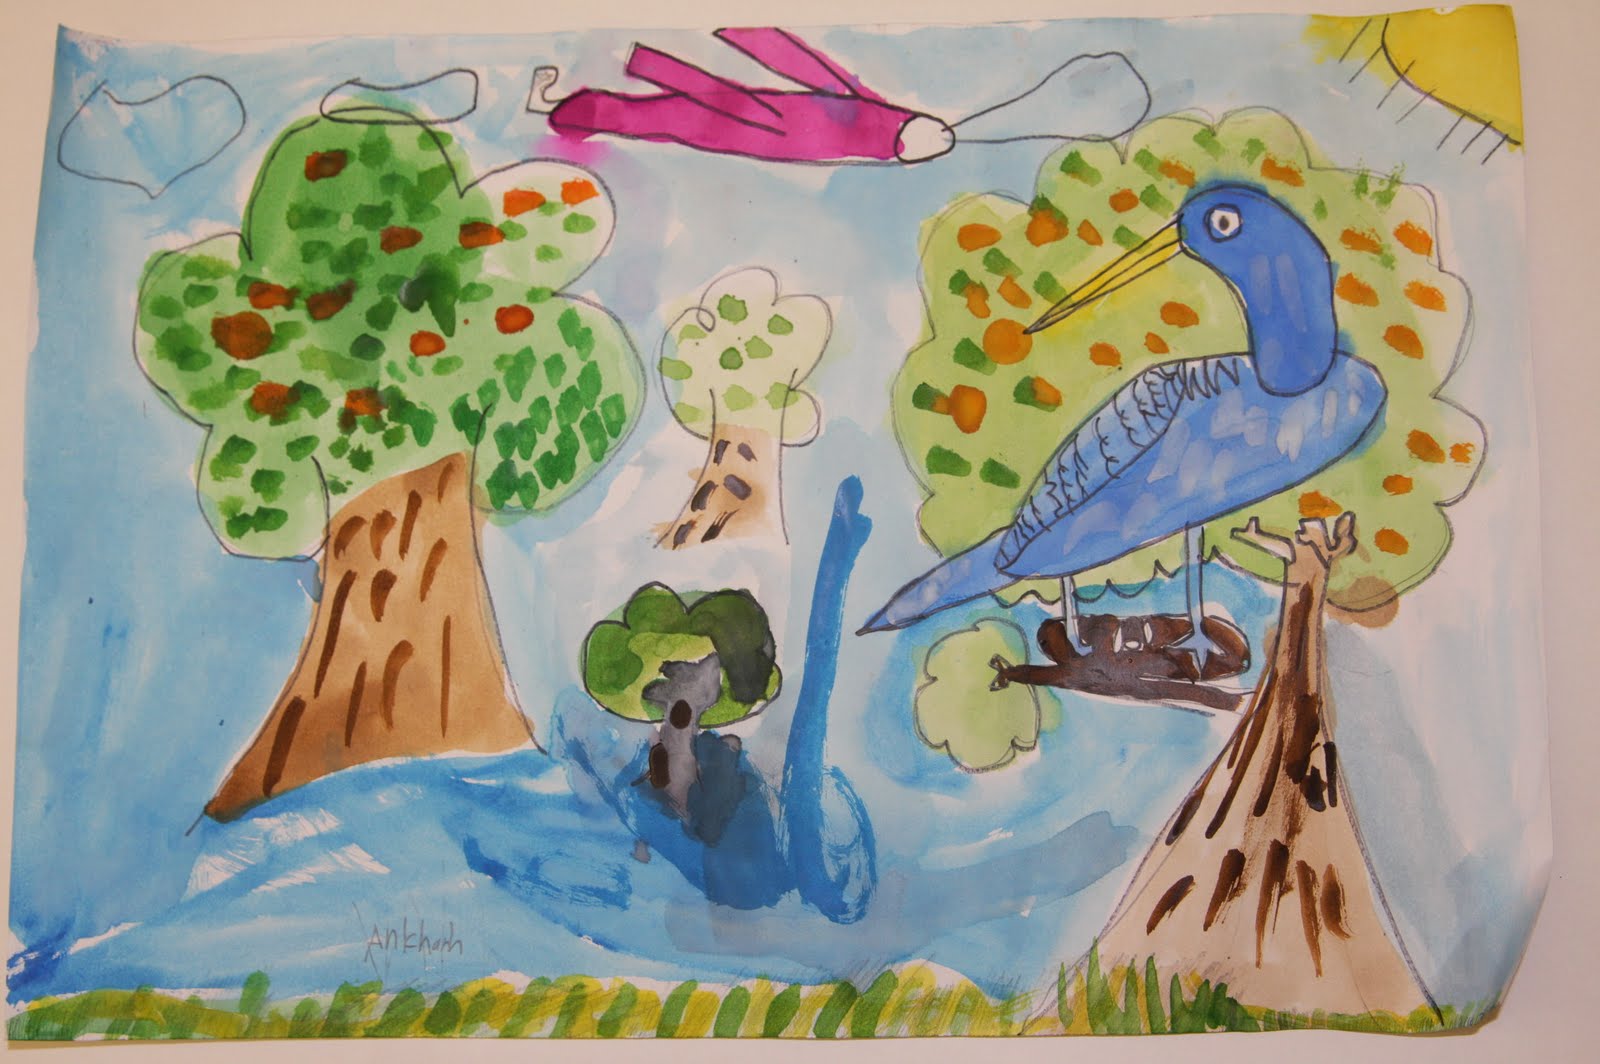
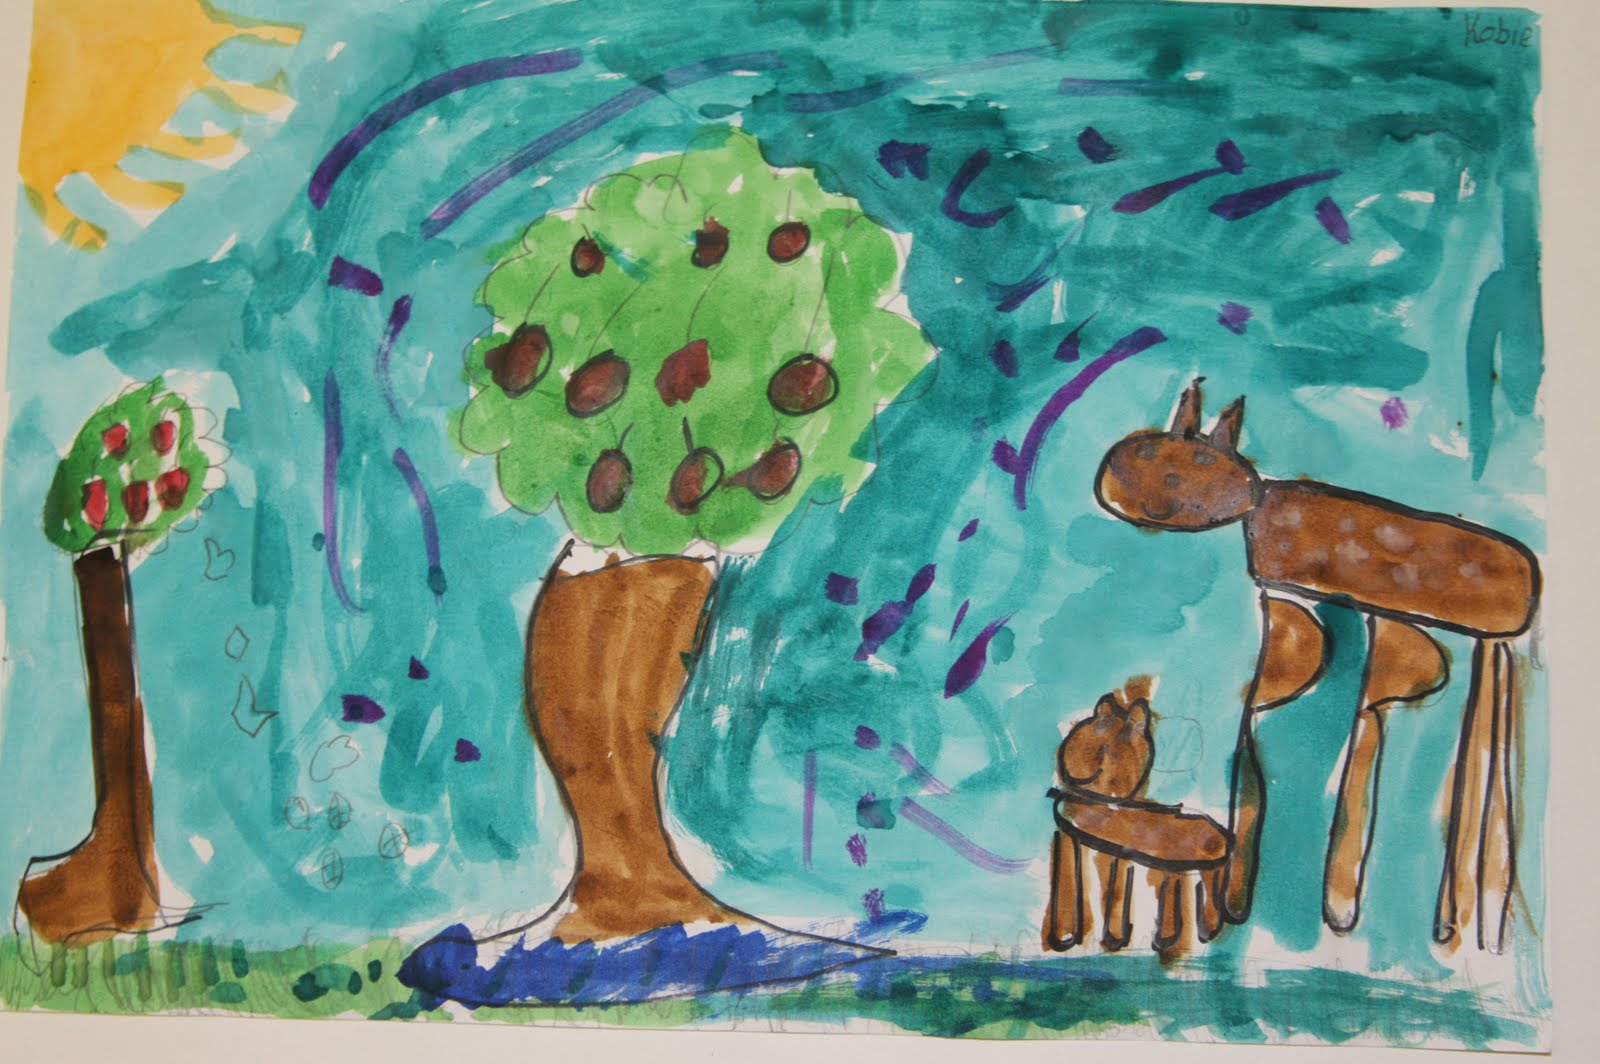
These are watercolor paintings painted by Ms. Friedman's 3rd Grade class. All 3rd grade children have been studying animal habitats. To raise our skill level in preparation for our final work, children practiced drawing animals by looking at images of real animals and sketching them in their sketchbooks. The painting process was a 2-step process in which they used larger brushes to paint the big shapes first and smaller, detail brushes to paint the smaller details the week after. I hope you enjoy these and share them with your family.


We talked about grass, and how blades of grass are not always just green. That sometimes the sun shines on them and makes them brighter, or sometimes they might be in the shade, making them a bit darker.

In their sketches, children were encouraged to pay attention to which direction the fur or feather went and to try to replicate that in their sketches. This artist is a great example of how this was achieved.






Pre-k combine shapes to make a portrait of their bodies

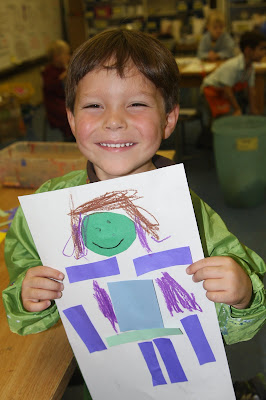
Children in pre-k have been working on portraits. Last week they combined drawn shapes to create a portrait of their families. This week they combined simple pre-cut geometric shapes to create a portrait of themselves. Afterwards they were given oil pastels to detail their bodies with eyes, nose, mouths, fingers and clothing decorations.


Primary colors, secondary colors and complementary (4th Grade)

In preparation to painting their portraits children created color wheels, learned about primary and secondary colors as well as the magic effect of complementary colors.

Young artists were only given blue, red and yellow oil pastels to create color wheels. To make secondary colors they had to blend the oil pastels with their fingers. Some children enjoyed this practice so much that they chose to create tertiary colors (mixing a primary and a secondary). It's truly fascinating to see 3 colors have the ability to create so many new colors.


Oil pastels are very creamy....we used our fingers to rub the colors together.

9/23/10

Animal Habitats Watercolor Paintings

3rd Grade Children in art have been building their skills in drawing animals and are now using them to create a painting of one of their favorite animals sketches and its habitat. The painting lesson is split into 2 sections, one where the all shapes are first painted and at another lesson where the details are added with a smaller, detail brush.

Children make choices in the work about composition, size, as well as all items to be included.
Children take great pride in their work and are very deliberate and careful while painting. I don't just hand them a set of watercolors and say "paint!". Kids really get to learn all about how to work with the media, its properties and general characteristics so that the end product shows a much higher skill level than when they began. When you see these paintings you will be amazed!!
You can do this at home by purchasing your child a Crayola watercolor set and a 80lbs-140lbs. sketchbook. The best way I found to get my kids hooked on painting is to do it with them.

9/21/10

4th Grade in progress self-portrait samples

Children in 4th grade are creating self portraits based on the facial proportion skills developed in the last 3 weeks. The works will be painted in watercolors and detailed in coloring pencils. Watch out for the big reveal of all 3 grades' portraits in the next 2 weeks. I'll keep you posted.

Kindergarten Insect Paintings

Kindergartners have been working on both drawing and painting insects from real images of insects. The children should be taking their sketchbooks home this week, so look out for it in their backpacks. For these paintings children used a 3-step process 1. painting the background, 2. painting a silhouette of the insect and 3. adding the details.
You can work with this at home by allowing your child to paint over a painting from the day before that has already dried and see how they could rework the painting once it's dry. Also, buying various sized brushes will make your little artist aware that different sized brushes make different types of lines and they might purposely reach out for one or another once they have practiced with them enough.

Working with plaster of Paris-2nd


Children created their own molds using modeling clay that have been imprinted with tools. The results were these interesting castings that looked a lot like sandcastles. Children are painting them and taking them home this week.
This week, children are making a group mold and here are the kids waiting for the Plaster of Paris to harden. They were very excited to see how fast this process happened. The plaster also warms up as past of the process and that too was a huge hit with the kids.
We talked about molds such as cupcake molds, cake molds, and we also discussed fossils and how they are made. Here is a mold waiting for the plaster of Paris to be poured on top. Children used various small hard toys and made impressions of these items onto the modeling clay.