This site is meant primarily as a resource for other elementary visual art teachers. Enjoy! All works posted before August 2014 are images from an elementary school I worked at in DC, all posted after that date are from an language immersion elementary school in Arlington, Virginia. Feel free to use ideas shared on this blog.Please, if trying out the ideas , at the very minimum give me written/verbal credit. Thank you!!
Followers
12/4/15
12/1/15
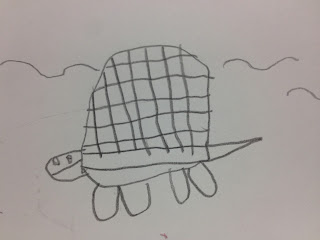
Kindergarten students learn combine and draw basic shapes to make animals drawings
First you help kids identify and learn the shapes. Each kindergarten should be able to identify and draw circles, semi-circles, squares, and rectangles of all types. I use a smart board to draw each animal "recipe" in front of them during the lesson intro, but also while they are working. Once they get the formula, they begin flying away and making their own amazing drawings.
To make these lines and shapes more palatable and easier to draw I will often give the line/shape a simple, kid-friendly name. For the scales I might use the words, "u-shaped line"for the humps on the bat wings I used the words a "very long M"to describe them
Do not draw perfect circles when demonstrating. Being ultra-perfectionist towards your own work while demonstrating will send the message that mistakes are bad. Mistakes are fine and I would even have kids not get erasers and demonstrate how they could turn their mistakes into new ideas. This child (above) may need to be directly told that mistakes are okay so that she will move forward in her development.
Kindergarteners combine basic pre-cut shapes to make vehicles
Learning to combine basic shapes to then make more complicated shapes is THE main building block for so many other skills. It helps a child draw better, create 3d sculptures better, to even see the world in a totally new way.
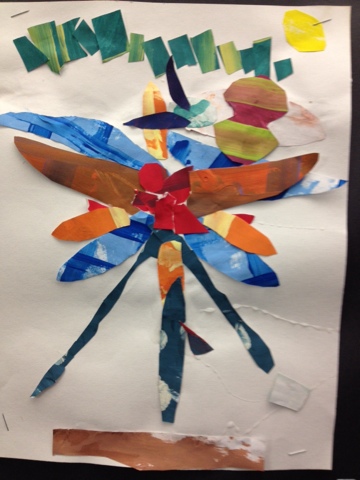
Kindergarten create Eric Carle-inspired flower collages
Children painted papers using tempera. They were instructed to first paint the paper one color and to decorate it with another by either making lines, dots or criss cross lines all over the paper.
Total focus...
Here are some slides from my Notebook presentation on the Smartboard:
Here is how the flower looks once I am done putting it together in front of them.
For when we added the details, we brainstormed what details we could add to our work.....the images, yes, are borrowed from Google images online....
Here is my flower again, after I have added some of the details kids suggested I add to my work.
For all kinder classes I use a 3-4 step visual agenda to help guide them. Here, Kids have to do three things during their 35 minute lesson. (1) add your details to your work. Kids have already started their flowers during the last class. (2) add glue all over your image at the end to help seal and protect the work. (3) place your work in the drying rack once done.
The second day we worked on details. Children were to add anything in the background they wanted...such as butterflies, moon, sun, tree, plants, bugs, rocks, rain, etc.
A garden full of flowers here....
Subscribe to:
Comments (Atom)


