Showing posts with label nature. Show all posts
Showing posts with label nature. Show all posts



9/30/19
Let’s start with leaves, a printmaking unit.
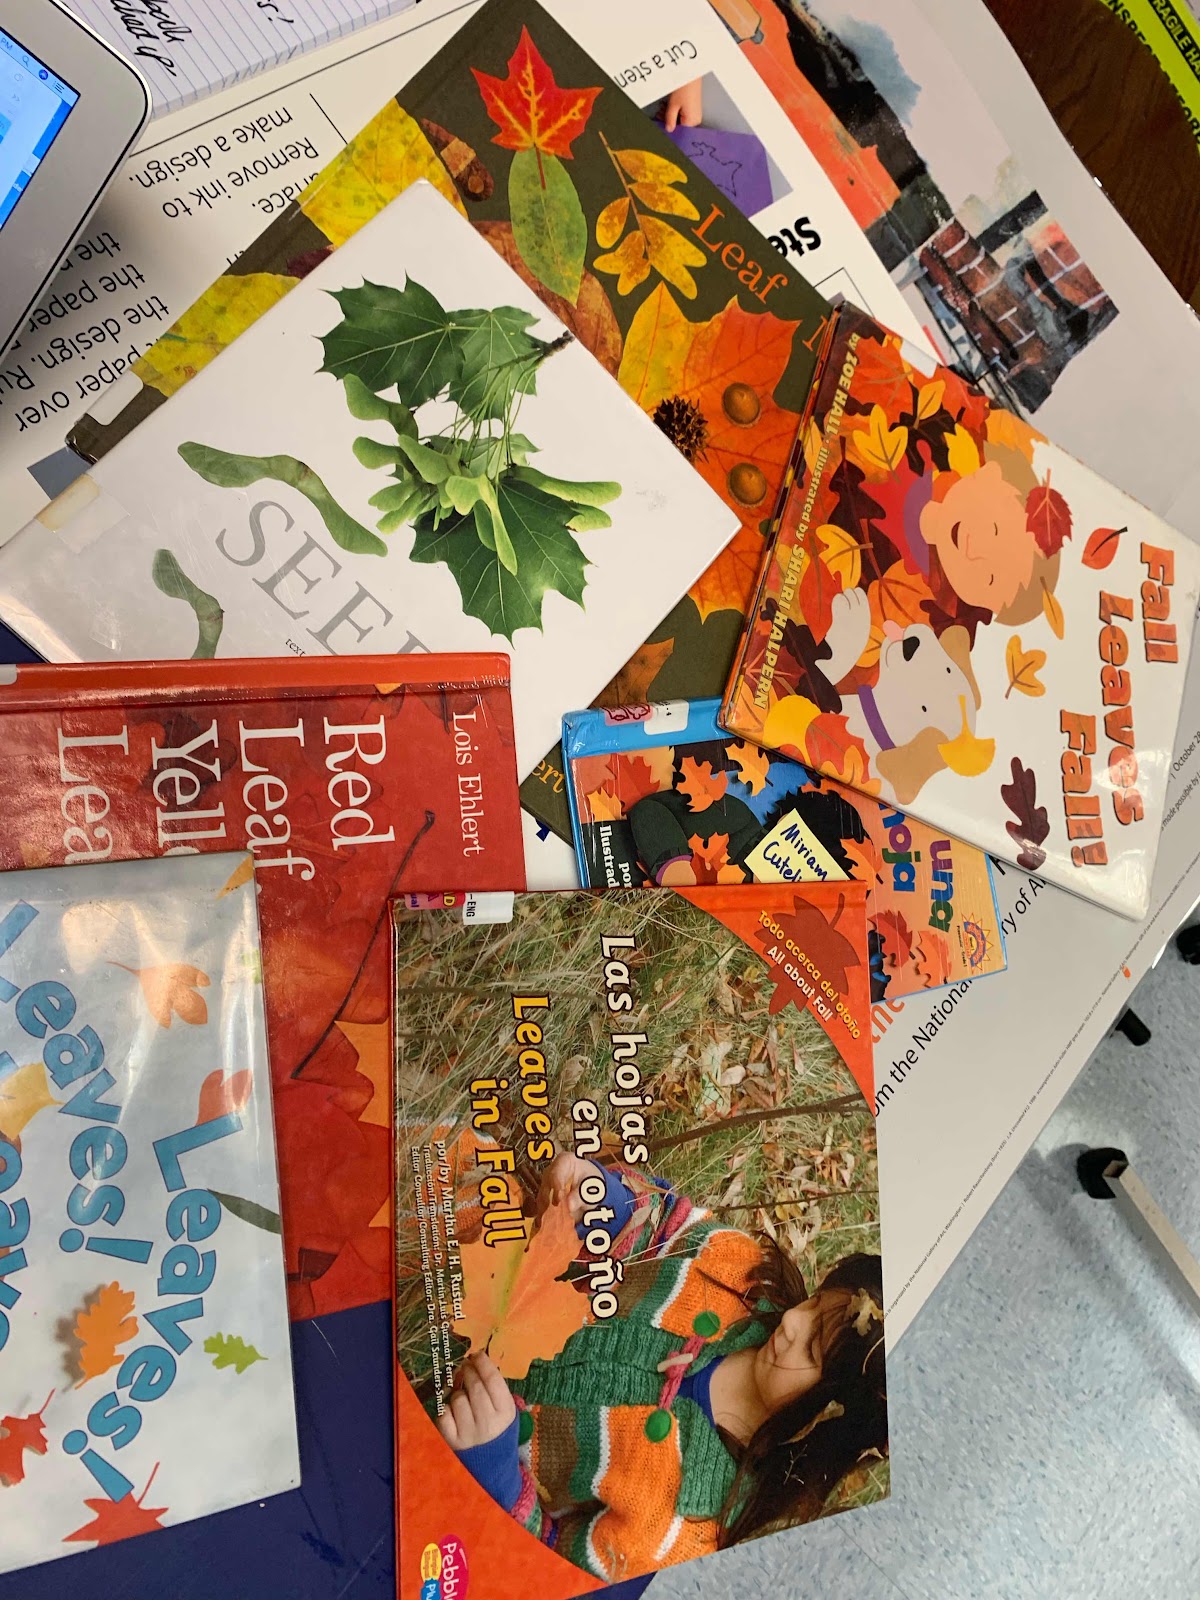
At our school we have an awesome library and in fact, we have wonderful, and helpful librarians who were able to find great books to get us started. For the first class in this unit I simply took the kids out to our school garden and they were to draw leaves, or any other nature treasures they wanted to draw in their sketchbooks. The sketchbooks are these composition books which we personalized with magazines images and words.

Seeing as this is fall and flowers are drying out for the winter, the kids got very excited about seeds. Seeds were everywhere. This child here is pocketing some seeds to take home and plant. Their high level of excitement was energizing to witness and I knew we were on a good path to learning.

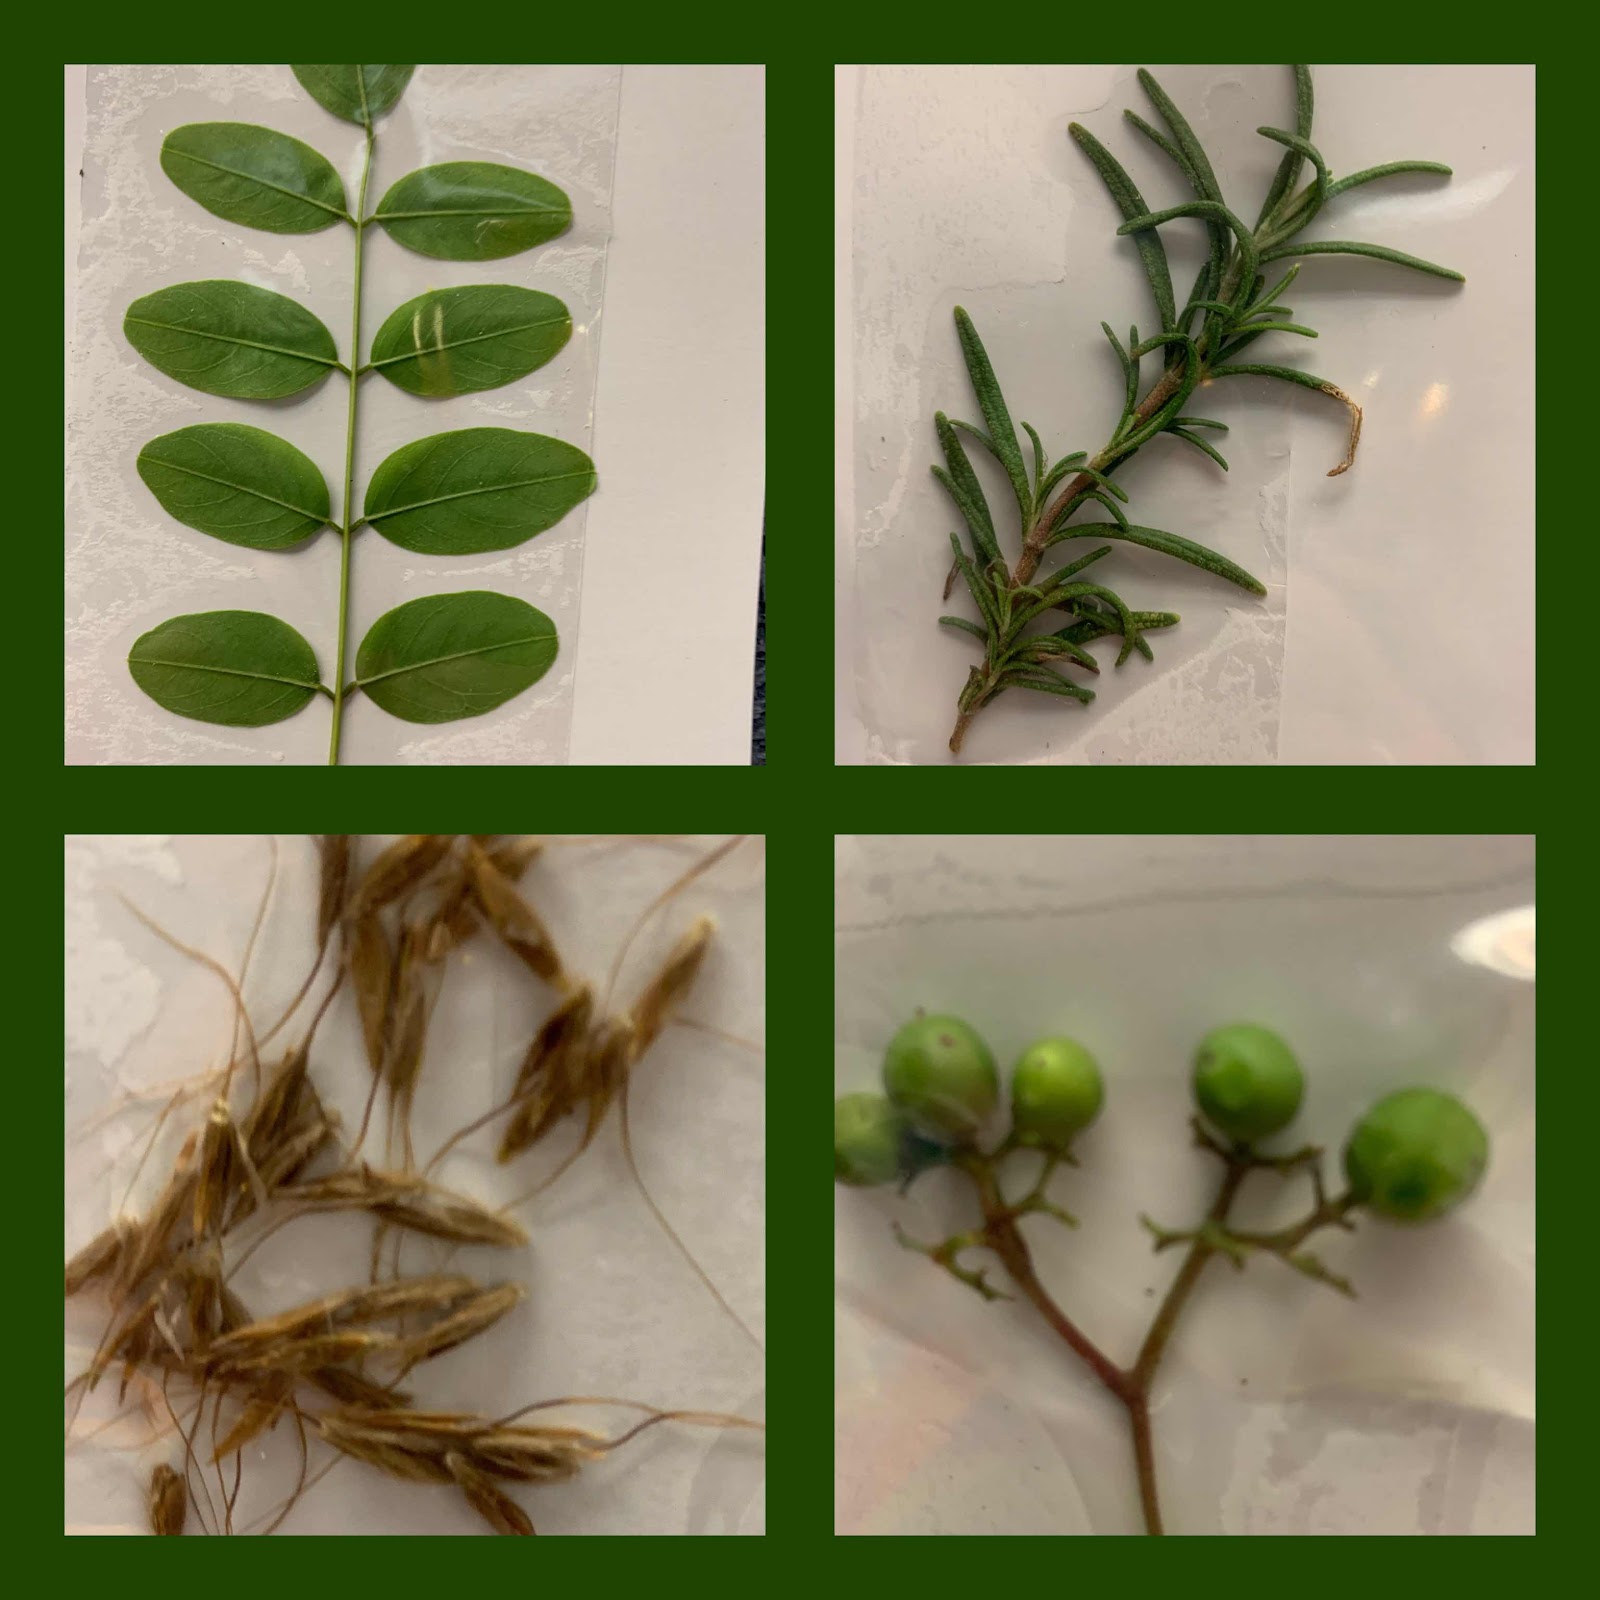
During the walk we also collected some "treasures" and I took the time to individually display them in these clear pockets. I used clear tape to tape each natural treasure to a white paper and stuck the papers in the clear pocket. The next class (class #2) kids were given these cards as a resource. Using black markers (felt pens/sharpies) kids tried drawing what they saw. They were so incredibly fun to watch. I have a class set of these small private eyes, they are small, individual-use magnifying glasses. The kids were so interested and intrigued by what they found when looking through them.

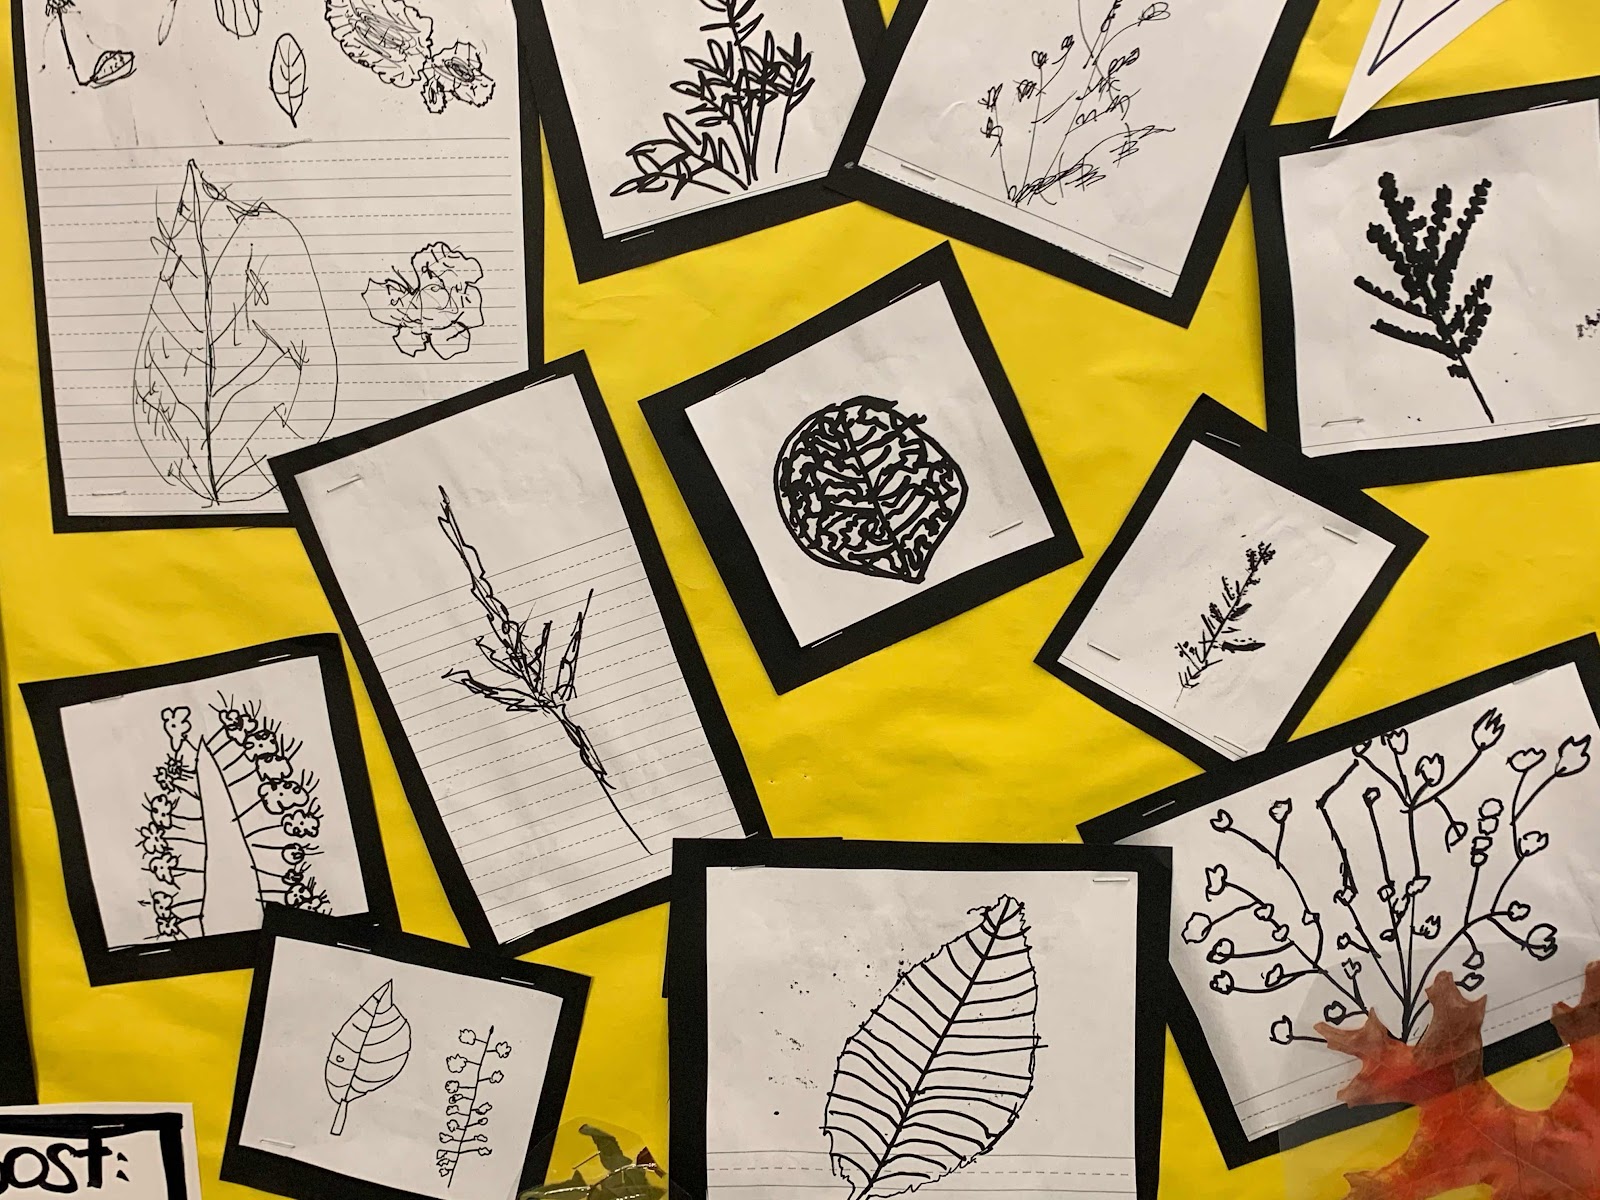
The drawings from this second lesson were just to die for!! Each one could easily be on a t-shirt or a printed card.

I am so excited about these drawings. They just make me smile. Kids' drawings will always trump any drawings adults could make, they look effortless and spontaneous.


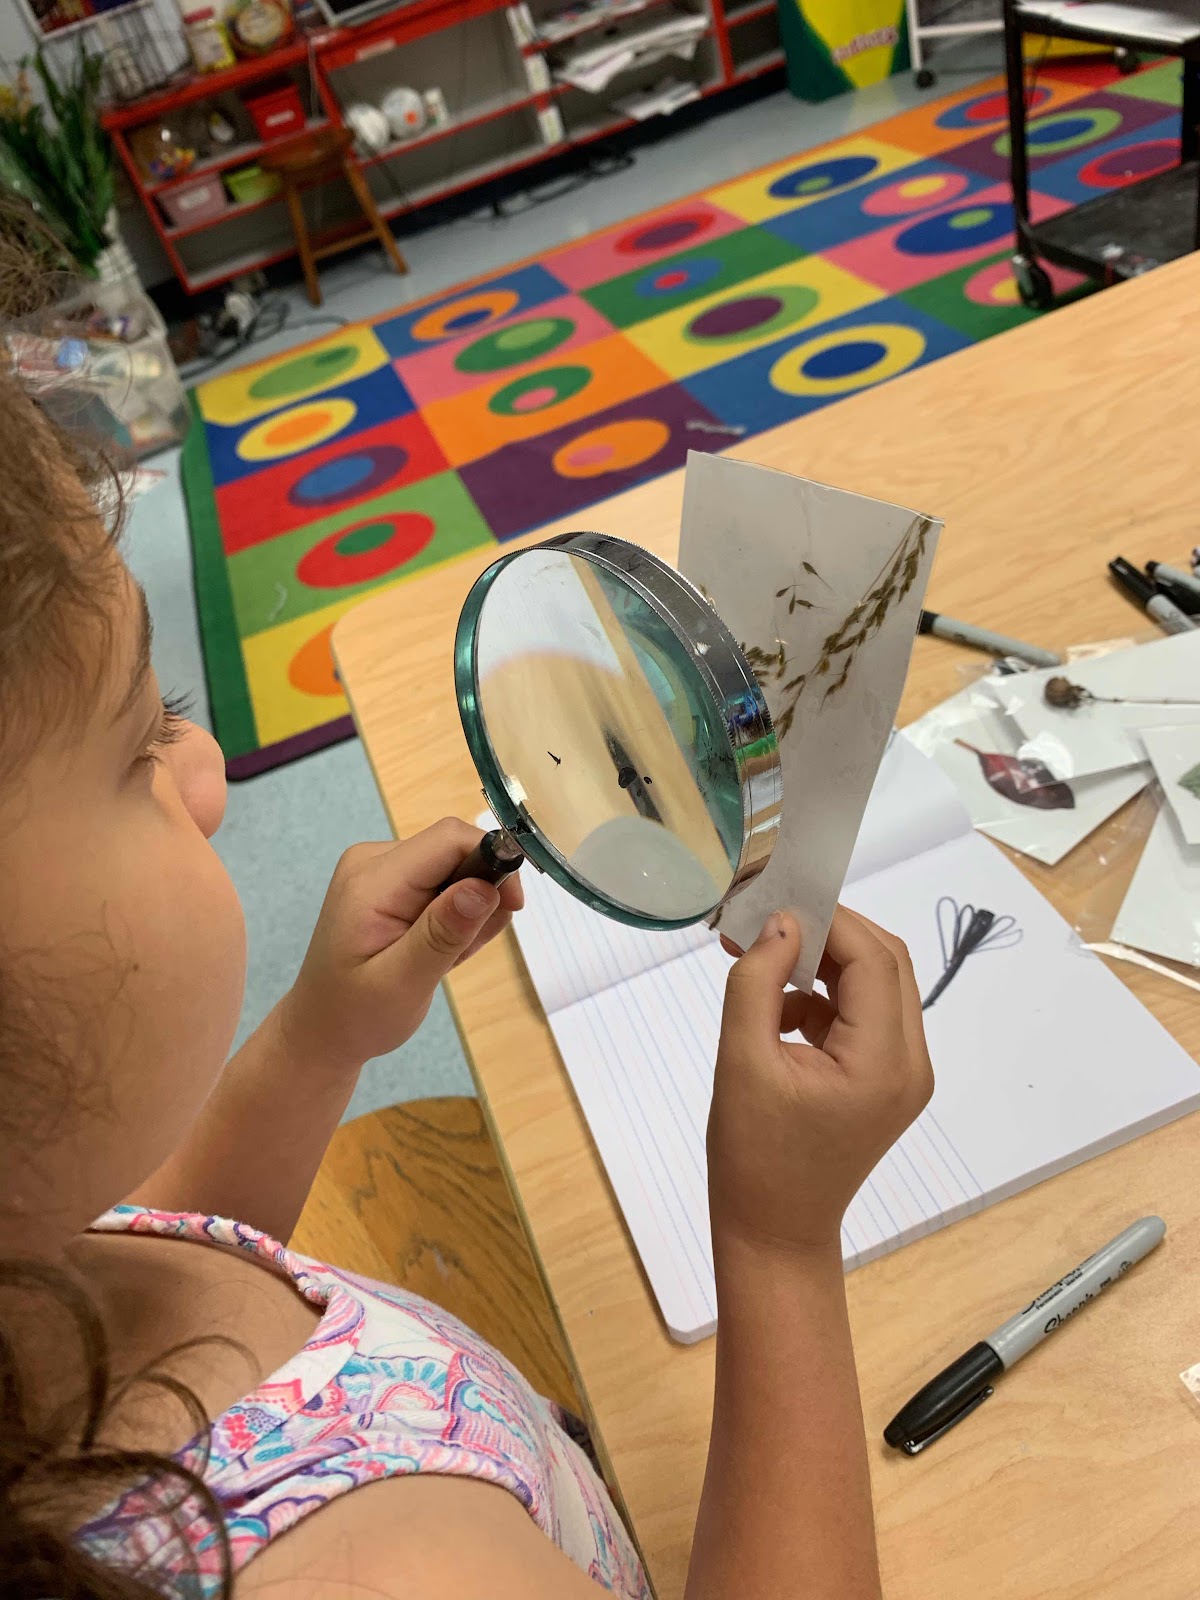
Tweeted: "Drawing the items we found yesterday during our nature walk using loops #scienceconnection #apsarts #artsed #cis_aps @SrPadillaAPS @Cante2_CIS "

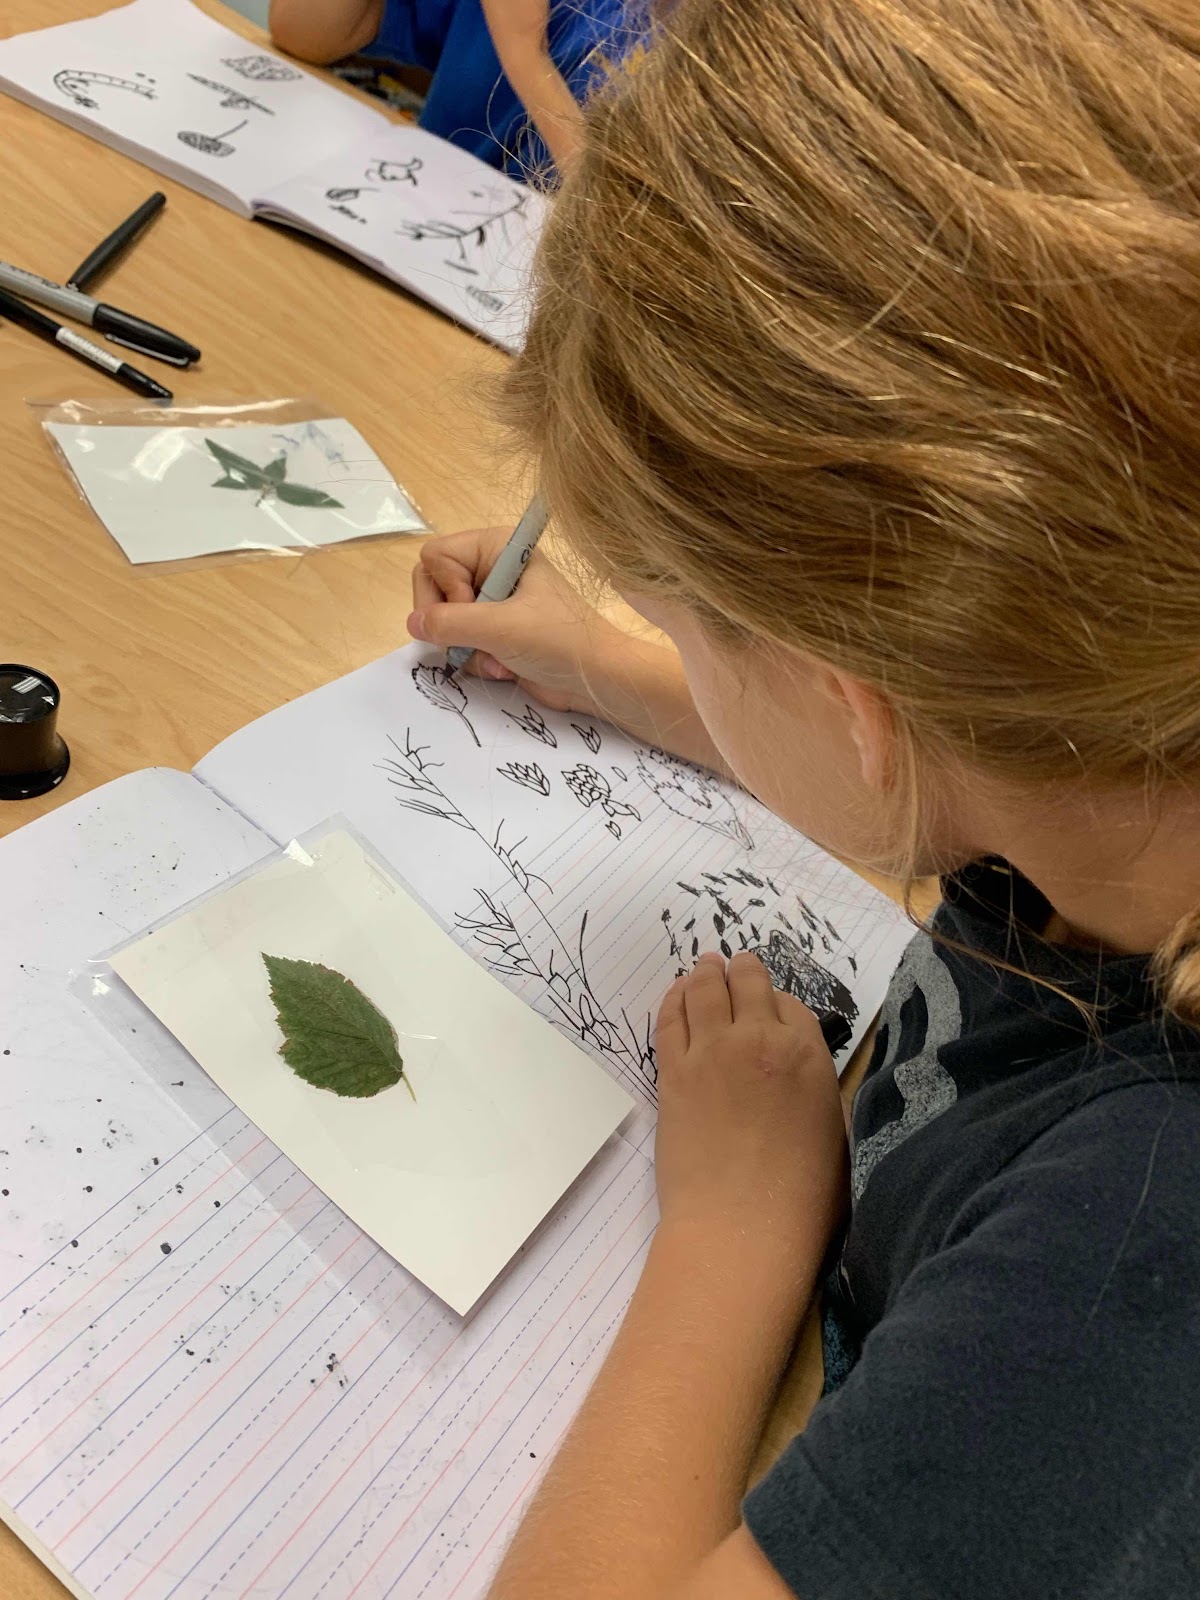
Transferring our drawings onto the printing plate.

Using scratchfoam and pens to press down, make the lines thicker and color in a few shapes.

These printing plates are ready to be printed.

Our initial prints. I provided them with assorted, colored fadeless paper and ONLY black ink. In the past I have given them various ink colors and white paper...but, I find the doling out of one color onto the trays much easier than constantly being asked to provide a specific color to a specific table. The assorted fadeless paper allows me kids control of some color while allowing me a bit more freedom to actually walk around and assist where needed.






10/25/18

10/10/18
Bee invasion
In second grade we are making a model of a bee using tape, paper, wire and see-through plastic. The objective behind making these small models are to practice the process of combining simple 3d forms to create more complex forms. Once they have this down, we can take what we have learned to make our GIANT insects out of recycled materials.

I had an assortment of wire in class, therefore, you will see quite a variety, from rolled paper, pipe cleaners, colored wire all the way to stiff metallic wire.


Parents, friends and even neighbors have donated, over the years, tons of materials that I constantly use in the art room. One of those items are sheer plastic sheets, like the kind we use for reports. My colleague, Susan Tremblay, suggested these would make great wings and I am forever grateful to her for such a spot-on suggestion.


Next, students will cover their entire bee with glue and wait a few days for it to dry and become super stiff. Once stiff, the sculpture will be ready to be painted. Here they are, drying off after a coat (or two) of plain Elmer's glue.


We painted our bees yellow with acrylic paint.


The next day we used sharpies and paint to add the eyes, wing lines and iconic bee stripes.


Here they are...ready to dry off for the week. Next week we will work with cardboard to make a hive using hexagons.


Some final products.


I had an assortment of wire in class, therefore, you will see quite a variety, from rolled paper, pipe cleaners, colored wire all the way to stiff metallic wire.
Parents, friends and even neighbors have donated, over the years, tons of materials that I constantly use in the art room. One of those items are sheer plastic sheets, like the kind we use for reports. My colleague, Susan Tremblay, suggested these would make great wings and I am forever grateful to her for such a spot-on suggestion.
Next, students will cover their entire bee with glue and wait a few days for it to dry and become super stiff. Once stiff, the sculpture will be ready to be painted. Here they are, drying off after a coat (or two) of plain Elmer's glue.
We painted our bees yellow with acrylic paint.
The next day we used sharpies and paint to add the eyes, wing lines and iconic bee stripes.
Here they are...ready to dry off for the week. Next week we will work with cardboard to make a hive using hexagons.
Some final products.

Subscribe to:
Posts (Atom)