Followers

Showing posts with label detail. Show all posts

3/8/16

Finished landscapes -4th grade


         We have come a long way. We began this journey by simply exploring colors and how they change when mixed. To make the color mixing lessons even more powerful and effective, children are always limited to the primaries, white, black and brown. We then looked at photographs, drawings and paintings of various landscapes and made observations about shadows, light, size of objects and level of details we saw. To bring a level of DEPTH to the painting children were to make their foregrounds very detailed, they were to add shadows and place different sized items on different planes to make it look near or far. As the unit came to an end, it became pretty clear who grasped the concepts and who did not. I added an additional class at the end to be able to work with those children who had difficulty. 

10/22/15

Final samples of Oaxaca-inspired paintings


Oh!!! I am SO in love with these works. They look so rich and fun. I am most proud of the fact that all the secondary colors and tints and shades were created by each child. I never gave kids anything but primary colors, white, black and brown. All secondary colors, tints, and shades, they make on their own....


9/29/15

3D construction faces made from wood and cardboard


Inspired by the work of Joyce Owens from Chicago. Children used their gathered skills in face making from the past 2 weeks to create these faces. Materials are both wood and cardboard. It's important NOT to use anything else but wood or cardboard. If you use plastic and use regular Elmer's glue, the pieces fall off easily when done. Of course you can splurge and get Tacky Glue and that will glue anything....and I mean anything. But, I stick to regular glue and items that glue easily. 


Children used a visual checklist to check off each face part as they added them. Their prior work in making a face college helped make this project successful. 
Children added details to their faces. Smaller, easy-to-glue items were offered on their second day to add to their faces. 


Children used one class to paint their faces into 1 chosen color. For the second painting lesson, children detailed their work  with 6 colors and again were asked to accentuate their main facial features. 


Here are the children working on their detailing using small detail brushes and permanent paint. 
Here are some of the finished pieces. 

9/2/11

Sample of wet-on-wet and wet-on- dry combined technique painting by artist Ella in Mrs. Pink's class


Here is an example of one of our watercolor explorations. These paintings took 2 classes. During the first class children explored the wet-on-wet techniques using soft bristled watercolor brushes. During the second class children used smaller brushes and metallic watercolors to add 'smaller marks' on top of their paintings while practicing their wet-on-dry techniques.


Published with Blogger-d

roid v1.7.2

Second graders use metallic watercolors and detail brushes to explore wet on dry watercolor techniques


Kids LOVEEEEEE all things metallic.....please come to the stairway by the art room to see the wonderful paintings the second graders made.


Detail brushes are used to make small marks. Artists purposely choose their brushes depending on what type of marks they want to make.


Published with Blogger-droid v1.7.2

3/15/11

2nd Grade Mammal Clay Containers

Children in 2nd Grade have been studying all about sculptures. They are learning that sculptures can be made from pretty much anything such as wood, paper, cardboard, metal and even gold. We also learned that often sculptures can serve a double purpose. These here are beautiful mammal sculptures that are also containers and can serve a purpose. These sculptures are drying and will go through a 2-part painting process. Ask your child what mammal they made.

9/28/10

Painting Gallery of Animal Habitat Watercolor Paintings

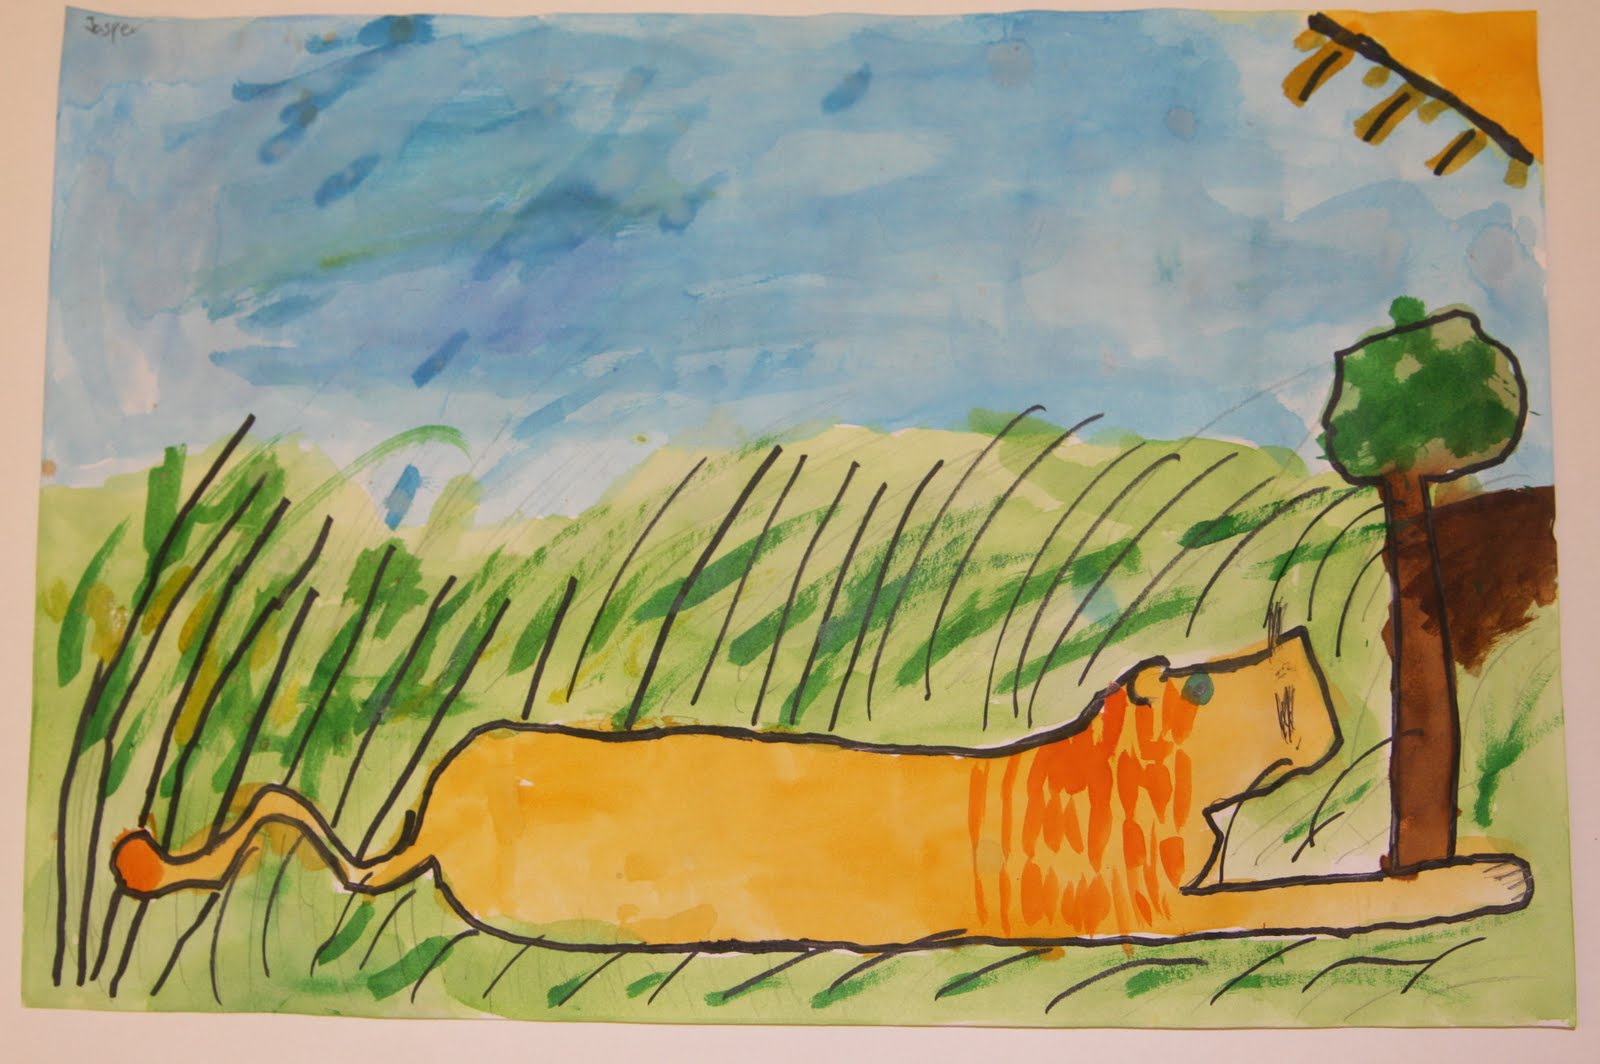
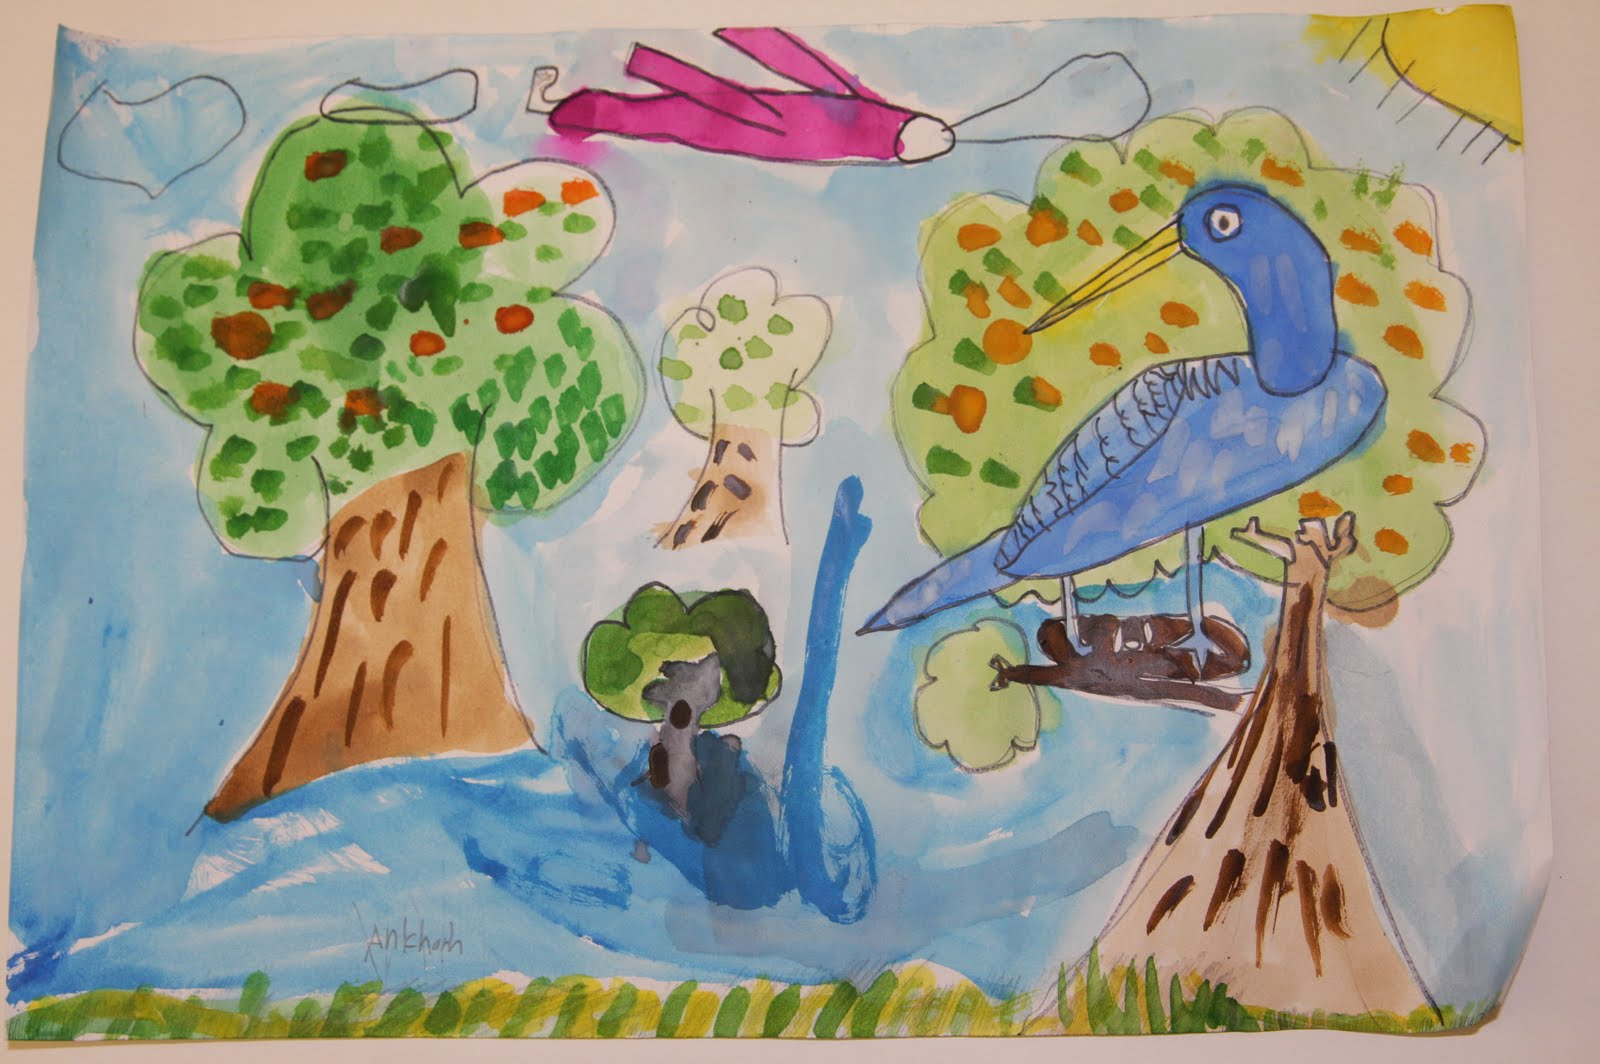
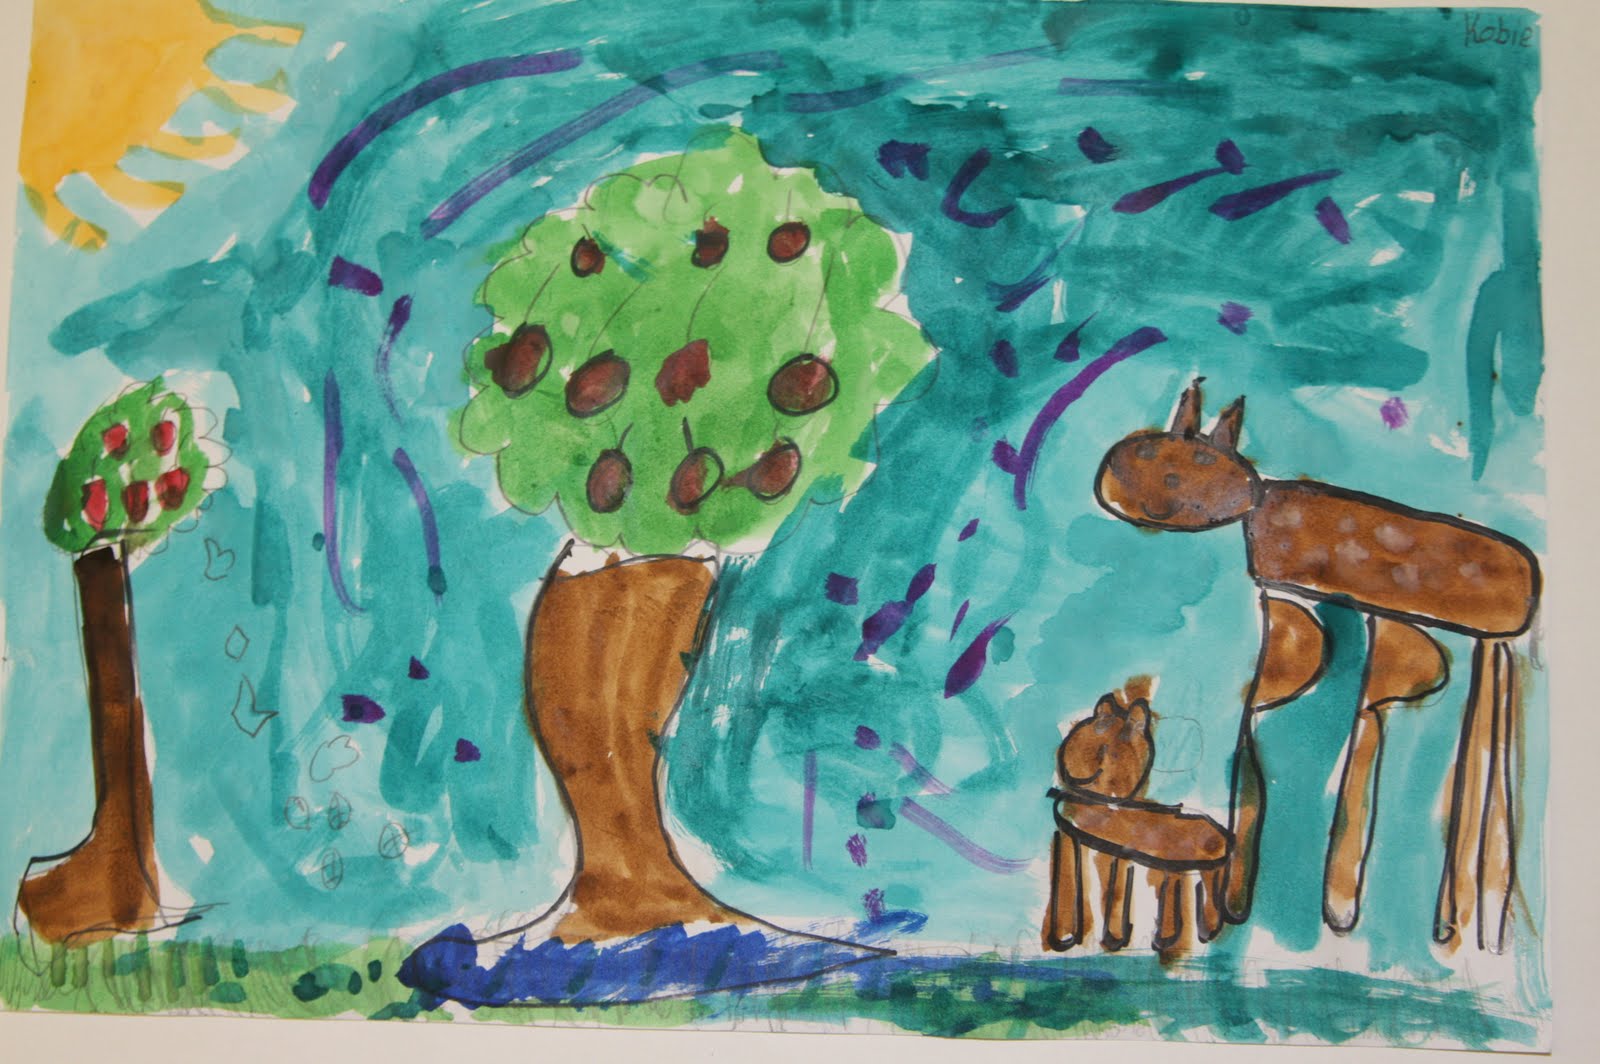
These are watercolor paintings painted by Ms. Friedman's 3rd Grade class. All 3rd grade children have been studying animal habitats. To raise our skill level in preparation for our final work, children practiced drawing animals by looking at images of real animals and sketching them in their sketchbooks. The painting process was a 2-step process in which they used larger brushes to paint the big shapes first and smaller, detail brushes to paint the smaller details the week after. I hope you enjoy these and share them with your family.


We talked about grass, and how blades of grass are not always just green. That sometimes the sun shines on them and makes them brighter, or sometimes they might be in the shade, making them a bit darker.

In their sketches, children were encouraged to pay attention to which direction the fur or feather went and to try to replicate that in their sketches. This artist is a great example of how this was achieved.


9/21/10

Kindergarten Insect Paintings

Kindergartners have been working on both drawing and painting insects from real images of insects. The children should be taking their sketchbooks home this week, so look out for it in their backpacks. For these paintings children used a 3-step process 1. painting the background, 2. painting a silhouette of the insect and 3. adding the details.
You can work with this at home by allowing your child to paint over a painting from the day before that has already dried and see how they could rework the painting once it's dry. Also, buying various sized brushes will make your little artist aware that different sized brushes make different types of lines and they might purposely reach out for one or another once they have practiced with them enough.

5/14/10

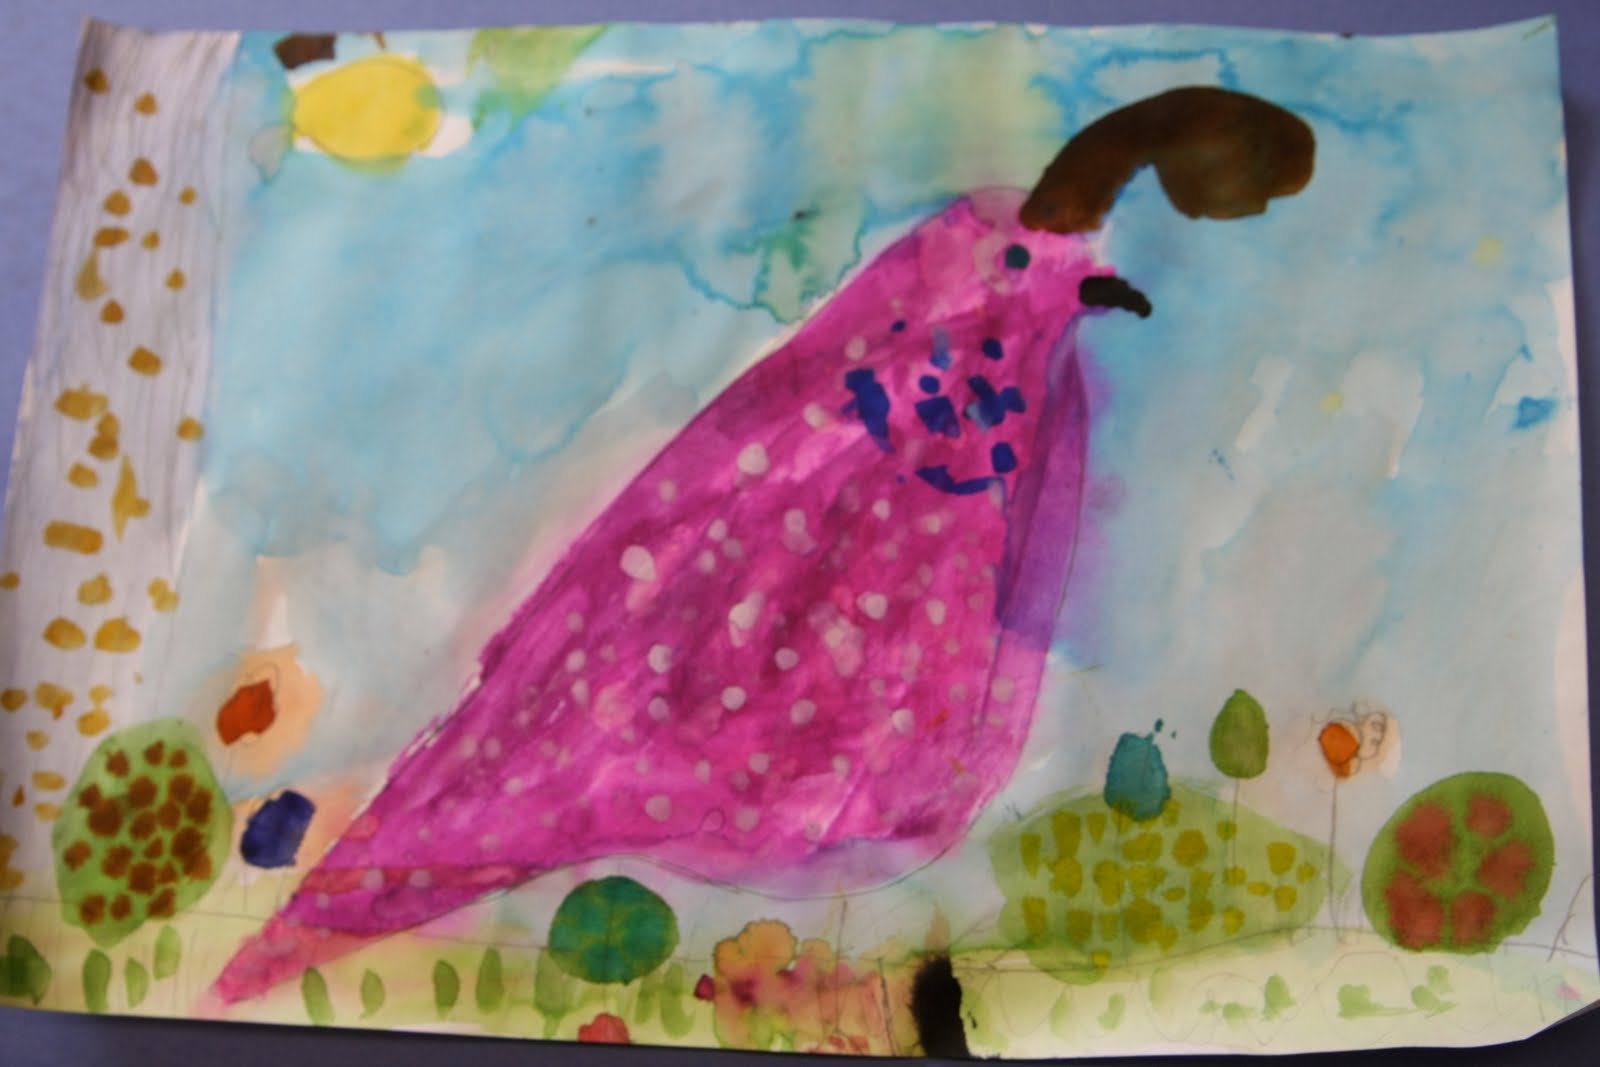
Mr. Welsh's AMAZING Class Watercolor Quail Paintings (Kindergarten)

Children in Mr. Welsh's class are growing quail eggs. To read more about this go to Mr. Welsh's K class website. Below are the most beautiful watercolor quail paintings. Children created these paintings in 2 days. The first day they laid in large shapes in their painting. The second day they used small detail brushes to add the details such has feathers, eyes, feet, grass, trees, worm, etc.