These are tessellations created by my students in 2nd grade.


Here is my process:
You will need scissors, a small, approx. 2"x3"rectangle cardstock, any type of tape, a dark marker (preferably a sharpie), and a white 8"x11"-ish paper.

Step 1: You will first cut a shape, any shape, from the bottom (any side you consider the bottom) and SLIDE it to the top. You can tape anywhere on top, left right, center? Make sure you slide the shape up, and not flip it. Note:You can try that later when you get more advanced.

Step 2: Next, cut a shape, any shape, from the right of the shape and slide it to the left of the shape, anywhere on that shape, and tape in place. DO Not overlap the shapes, they must be flush with one another.

* A creature with its mouth open
* A gnome walking
* A funny looking bird

Step 4: once you decide which image you will use, grab a marker and draw the details inside the shape ,whatever they may be, don't skimp on the details. Have fun with this, there are no wrong answers.

Step 5: Trace the shape in the white paper. You will notice, if you did the above instructions correctly, the shape will fit into each other easily. Fill the paper as much as you can.

Step 6: draw in the details on the white paper as they appear on your red shape.

Step 7: color, using crayons, markers or coloring pencils.

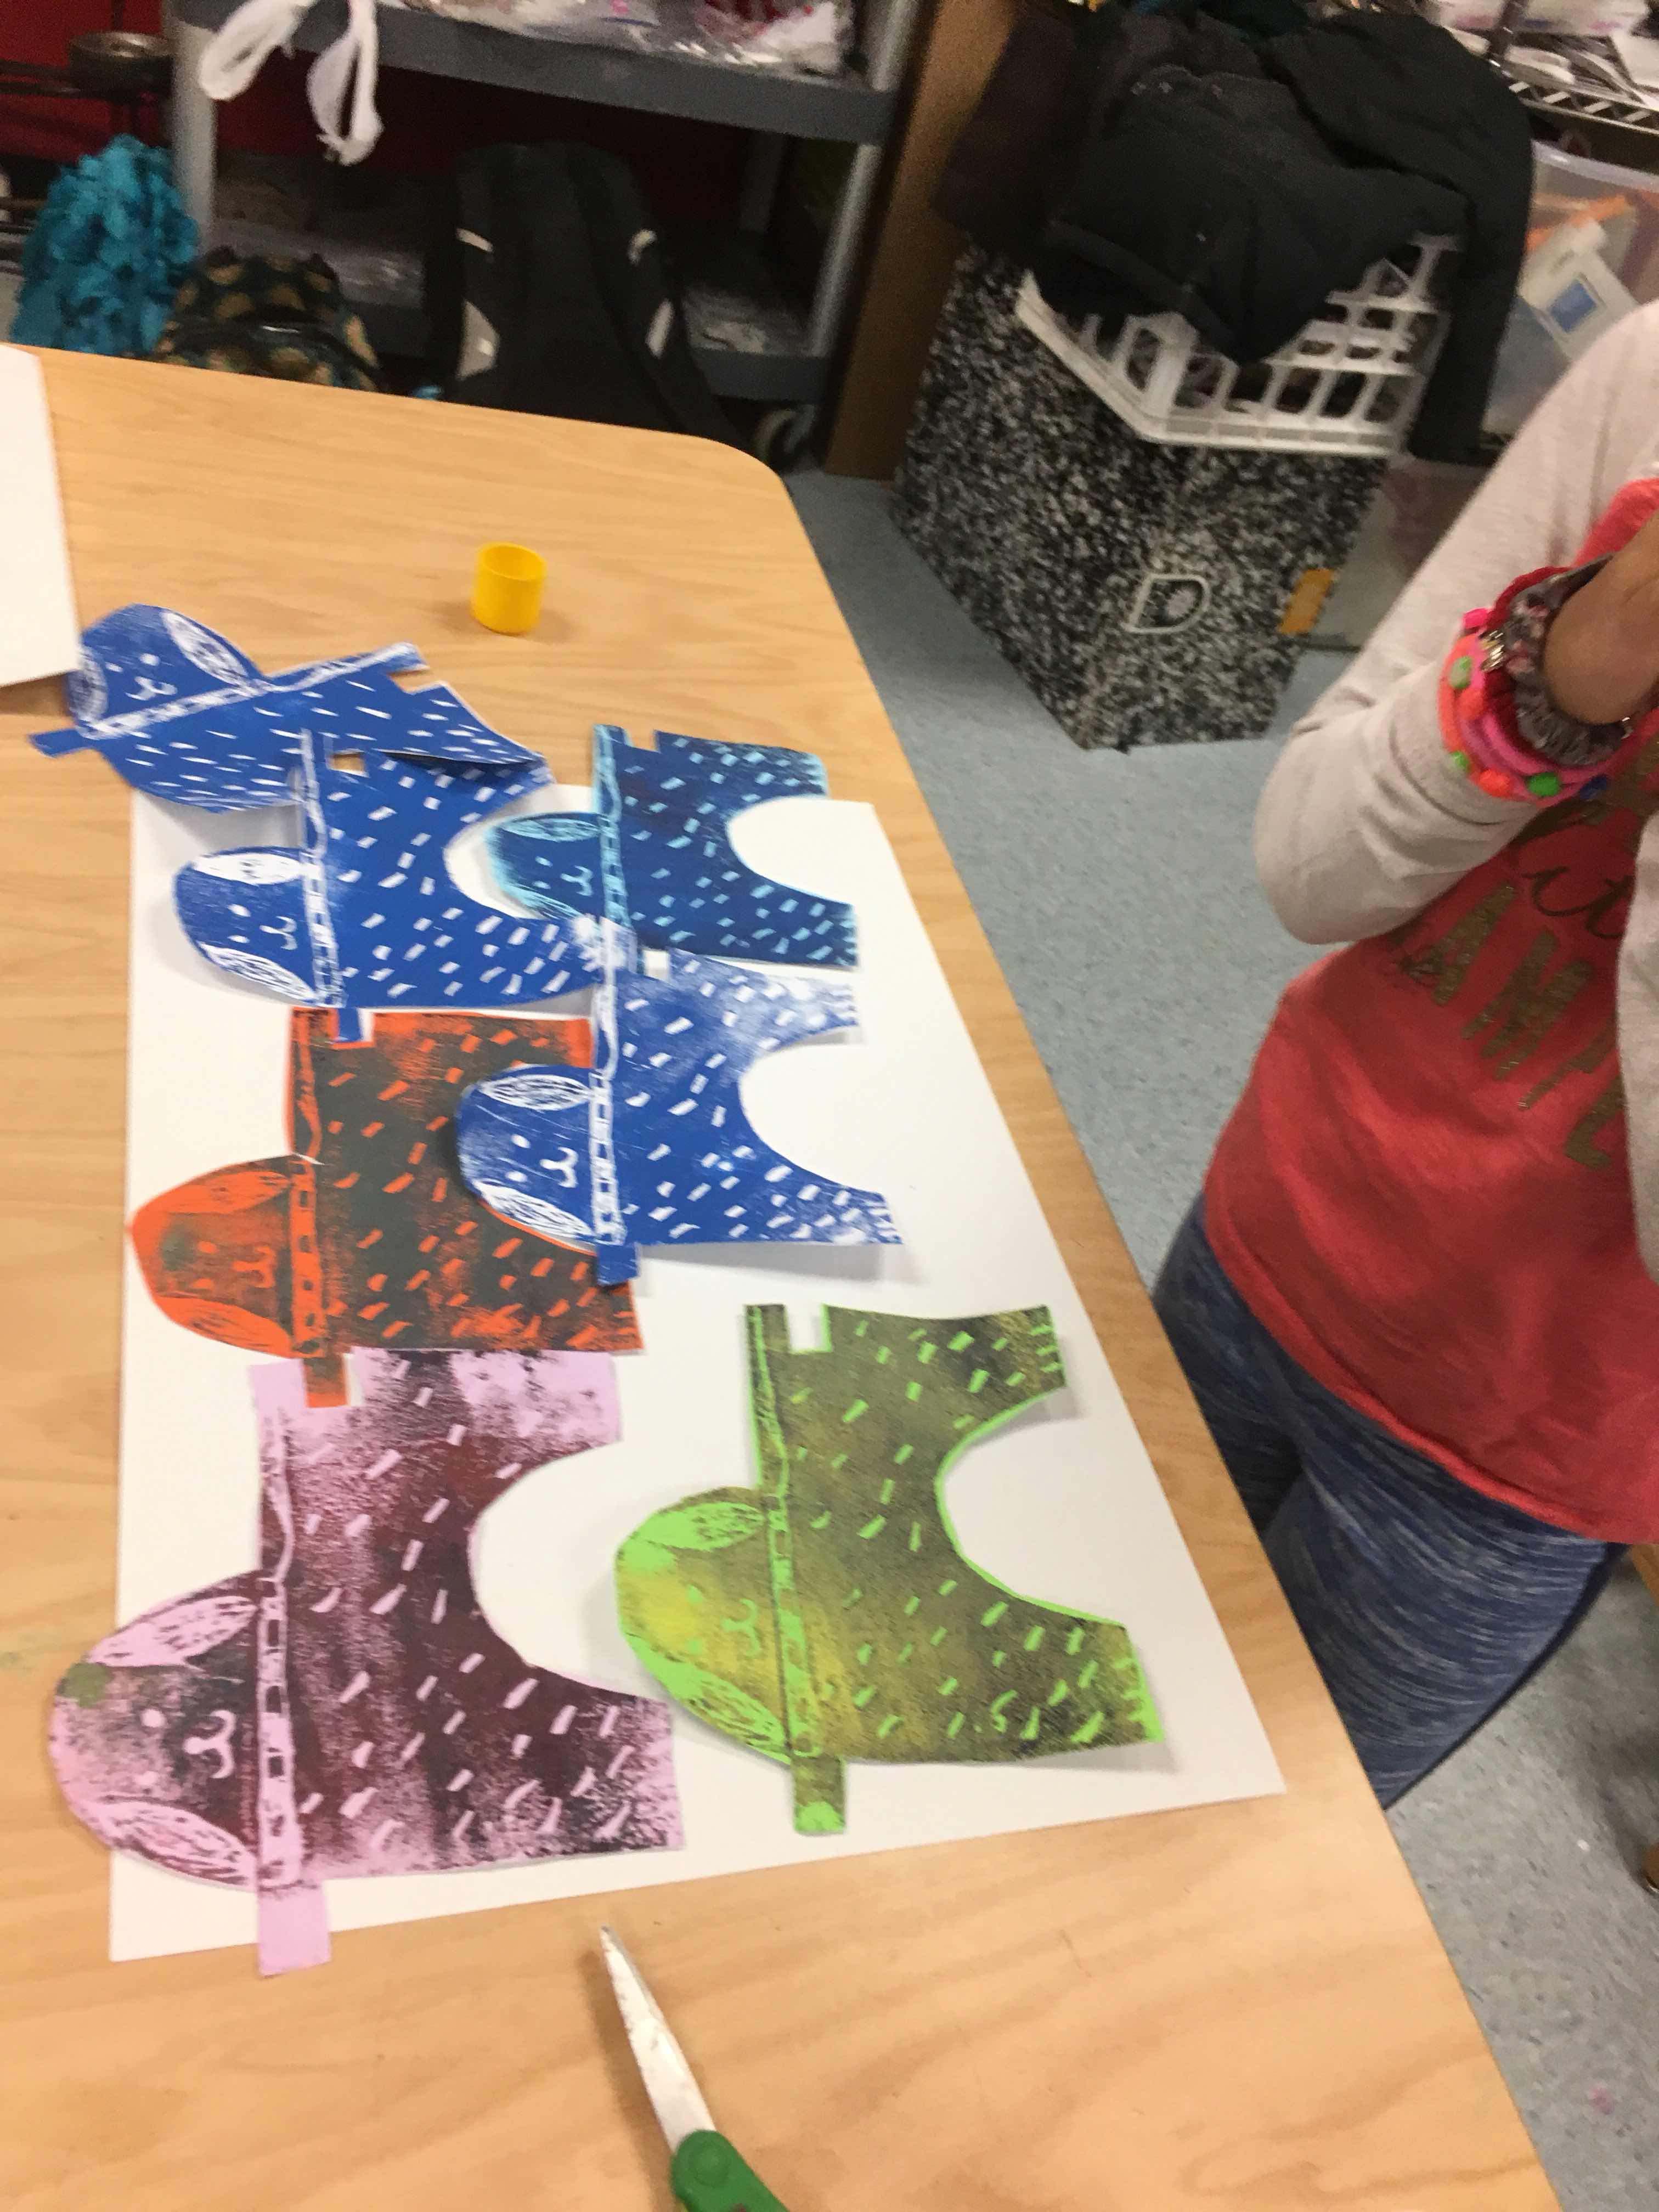
I only have my students for 35 minutes. Because of this tight schedule I have had to find a very efficient way to do printmaking. Once students knew how to make a simple tessellated design, they made one using scratchfoam. In an additional day students got to make each drawn detail line on their scratch foam deep and thicker but also got to choose specific areas to color-in complete.
Next, students got to practice printing using their design. To keep things sane and simple, I only had them use white paper and blue ink. The idea was to get them familiar with the process first. Having too many variables, such as different colored papers and ink tend to make things feel more complex than they really are. On the second day of printing I introduced various colored paper and inks. I love to use assorted fadeless paper and cut them up and place them in a tray. Every child wore a smock (big t-shirt).

we use magazines for our workstation. Children just need to remember to switch the pages when they are ready to print after rolling.

Here is her first print!!! gorgeous!


I show the students how to spread the ink on the tray and what the ink sounds like when it's ready. In case you did not know, it makes a "sticky" sound.

 After two days of printmaking we had enough prints to then use a whole class to cut each print carefully. Next, we will use glue sticks to glue them on. I normally use liquid glue, but I have found that with water-soluble inks the ink tends to run when re-wet.