Seems almost too simple. Give kids access to hundreds of 3"x3" squares, masking tape and scissors and teach them how to combine the squares to make a cube, then, let them loose. The only limitation I give them is that they build their structure on top of a cardboard base.
Here students are beginning to explore making cubes and beyond.

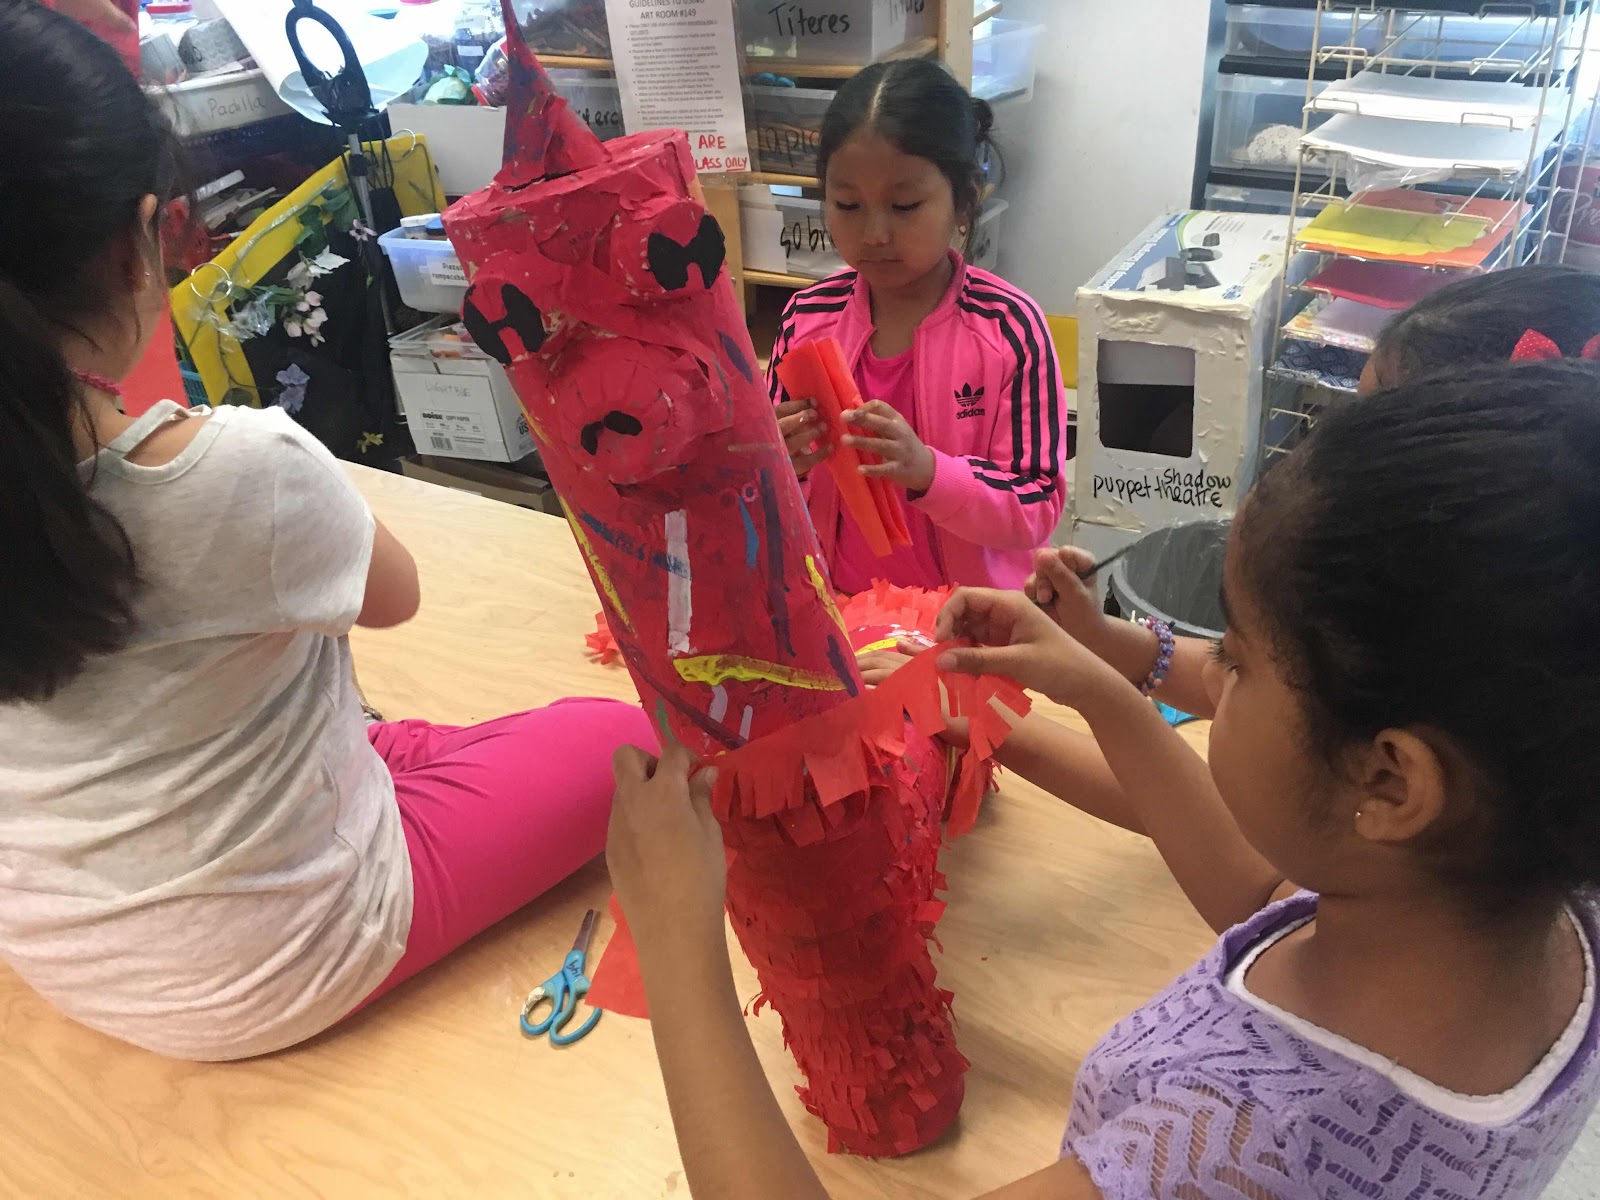
Once kids work with masking tape 1-2 classes they become experts are cutting it with their fingers.
Next, students use glue to solidify the sculpture in place.

I like to dispense my glue in cups with a brush. I have dozens of Playdough cups left over and they make great "glue-cups".


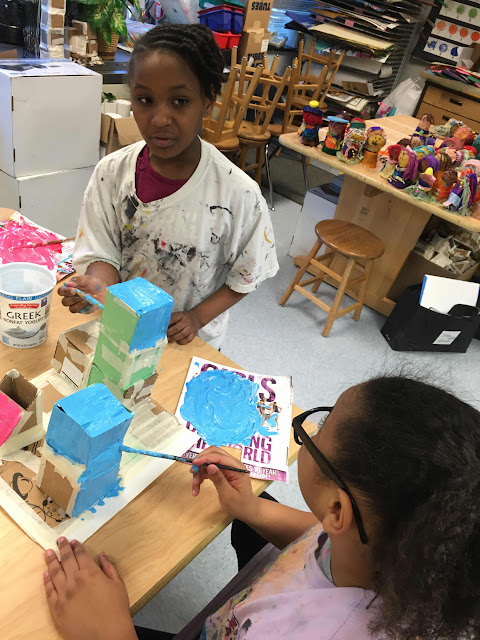
Before I move forward into allowing them to paint their sculptures. Students get a demonstration on making secondary and tertiary colors. On the inside part I also demonstrate how colors change when white is added and what happens when black is added. Giving students the option to making their own colors is so exciting for them.


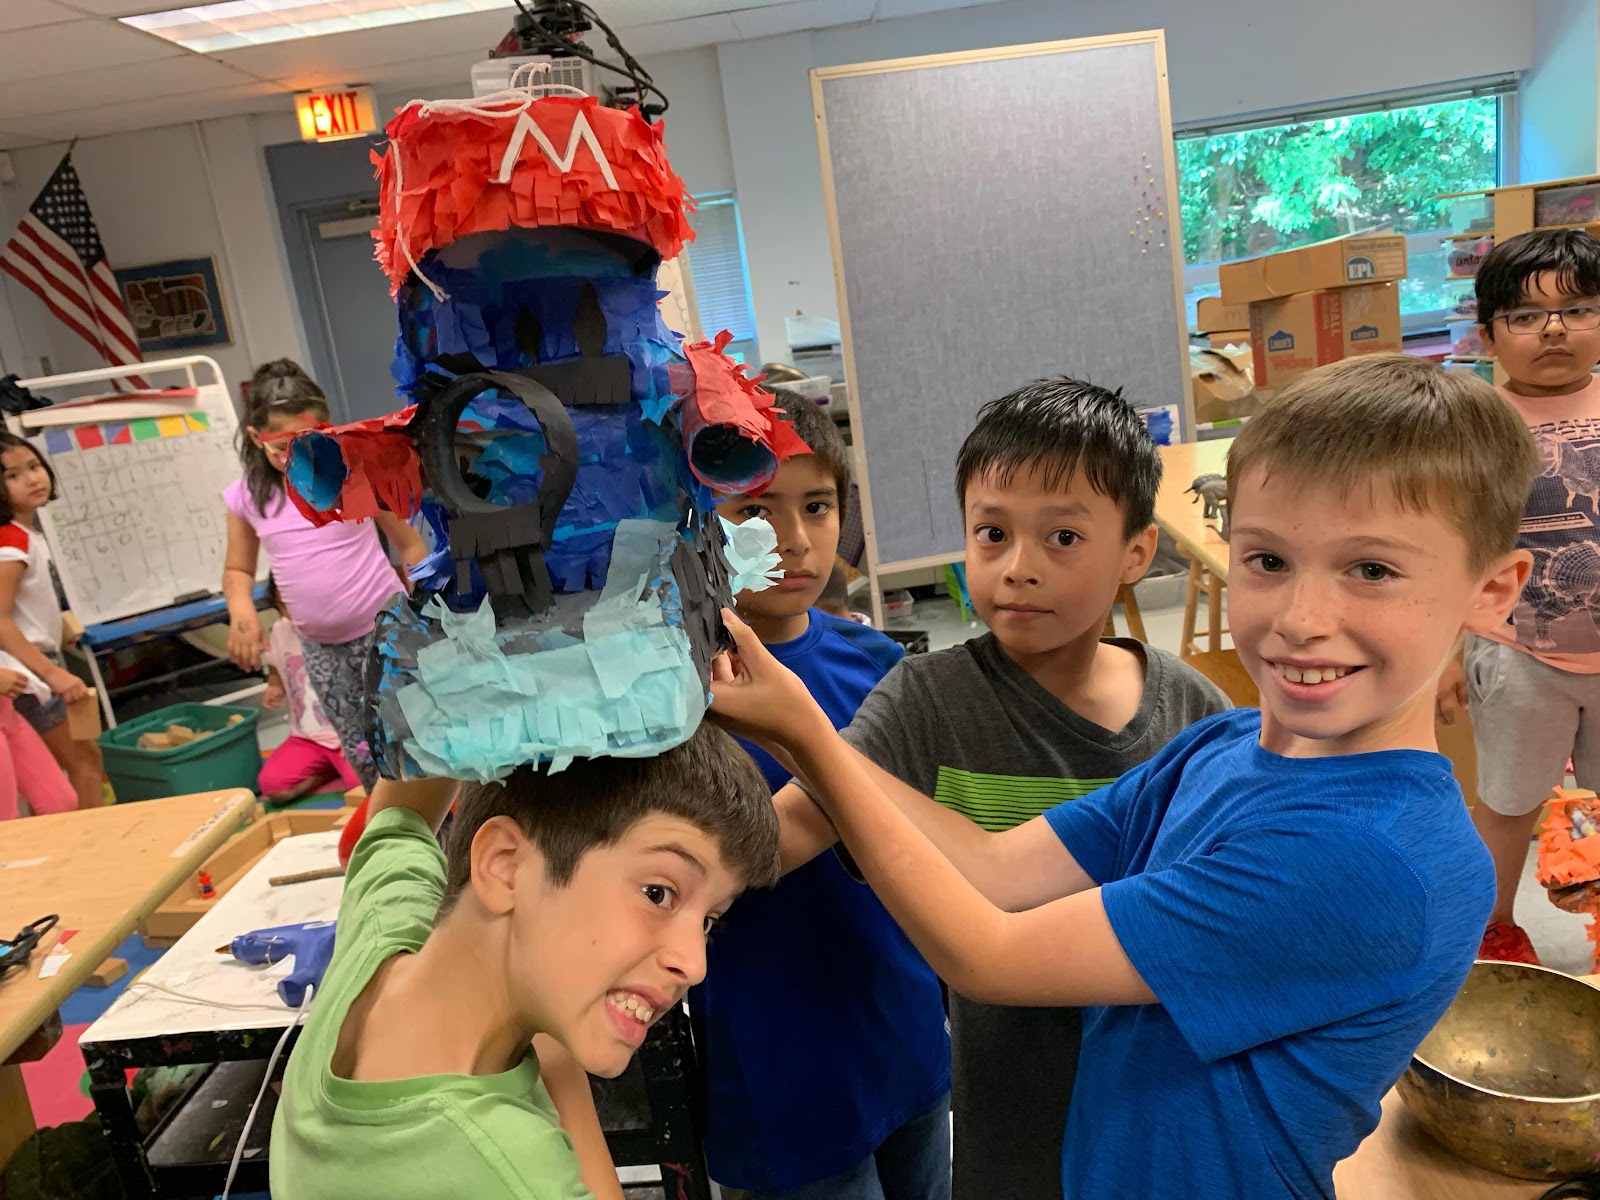
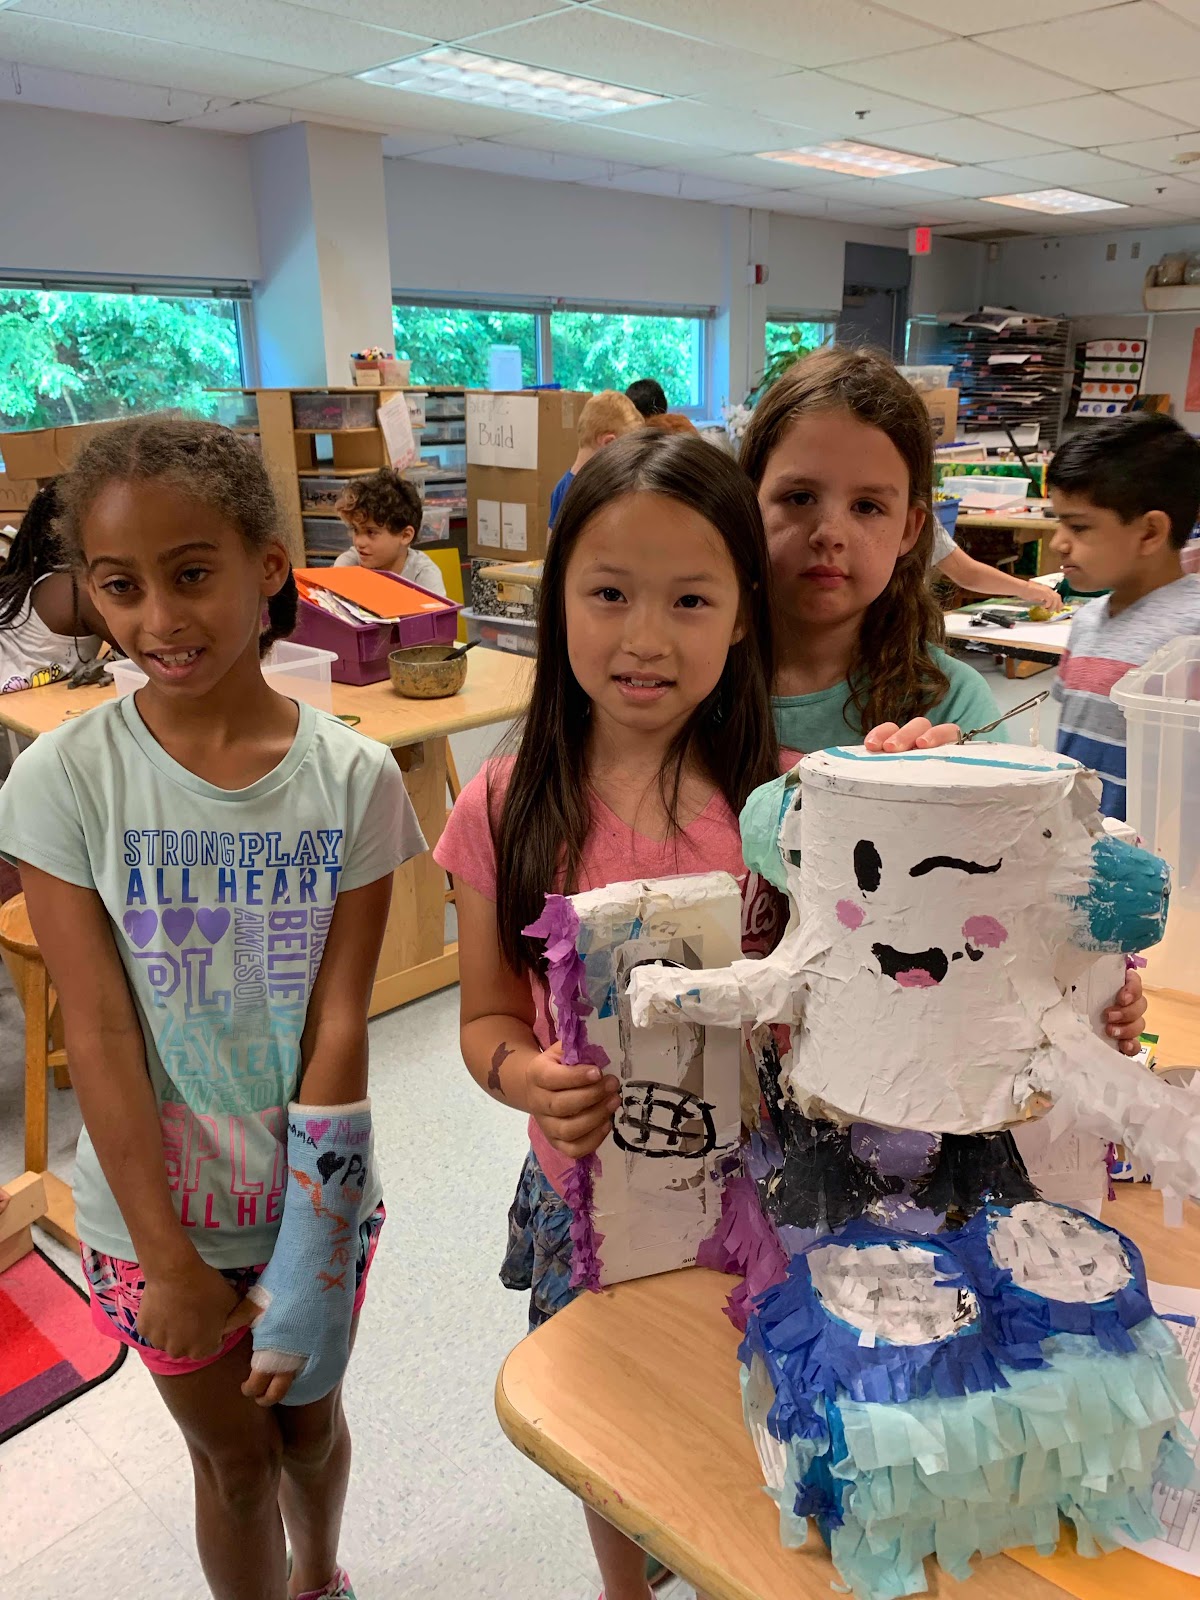
Notice the light blue color below. The young artist had to mix blue and white to make this light blue color.


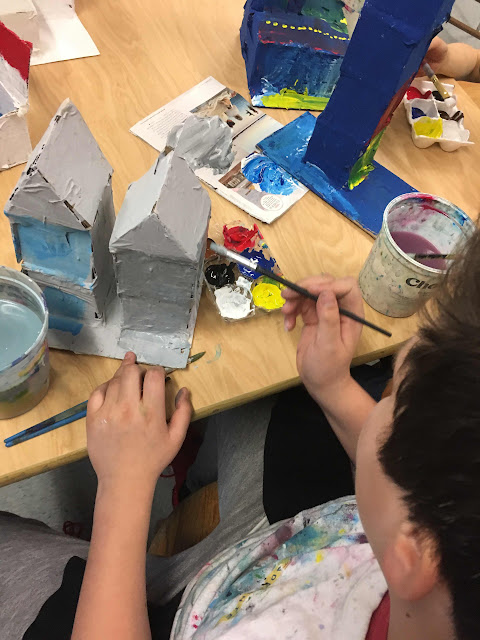
students get a palette of 6 colors to detail their work. Red, blue, yellow, white, brown and brown. With these colors they can make any number of new colors.


Last, in every unit students are asked to write about their work. Here they are writing about their work in Spanish and using dictionaries and each other to translate any words they do not know in Spanish.

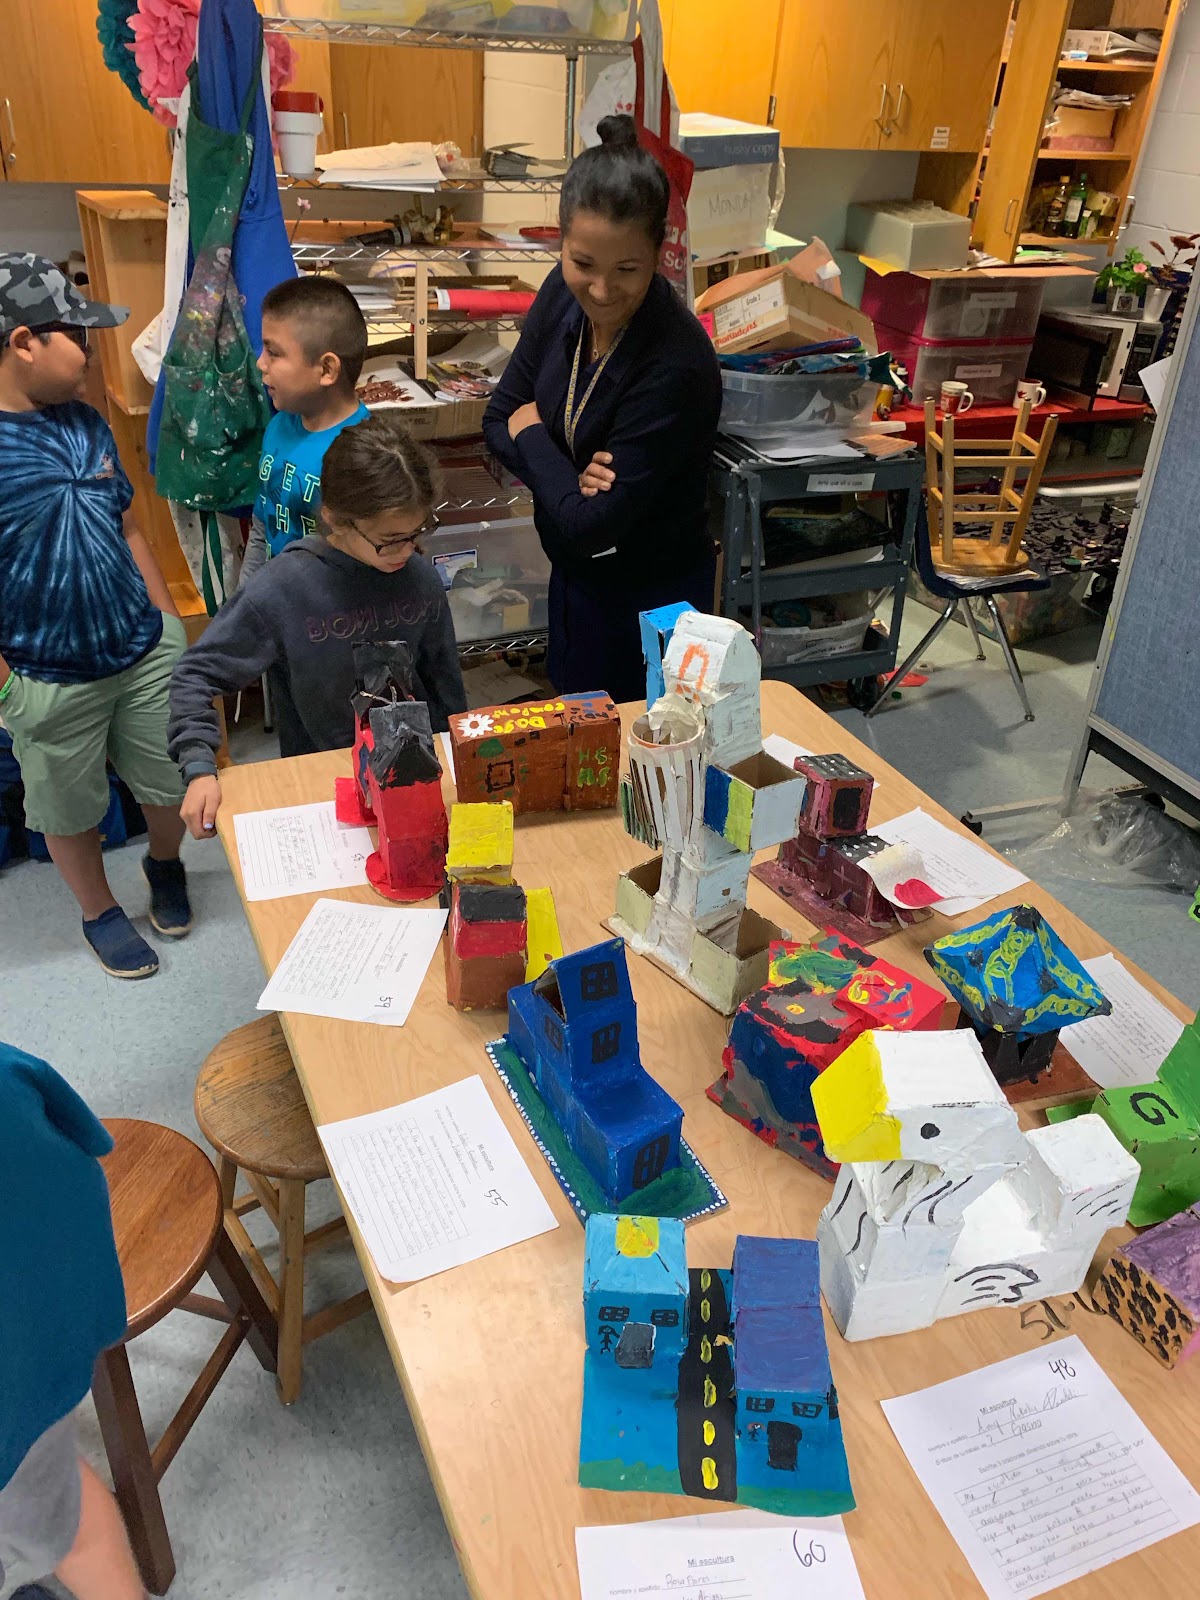
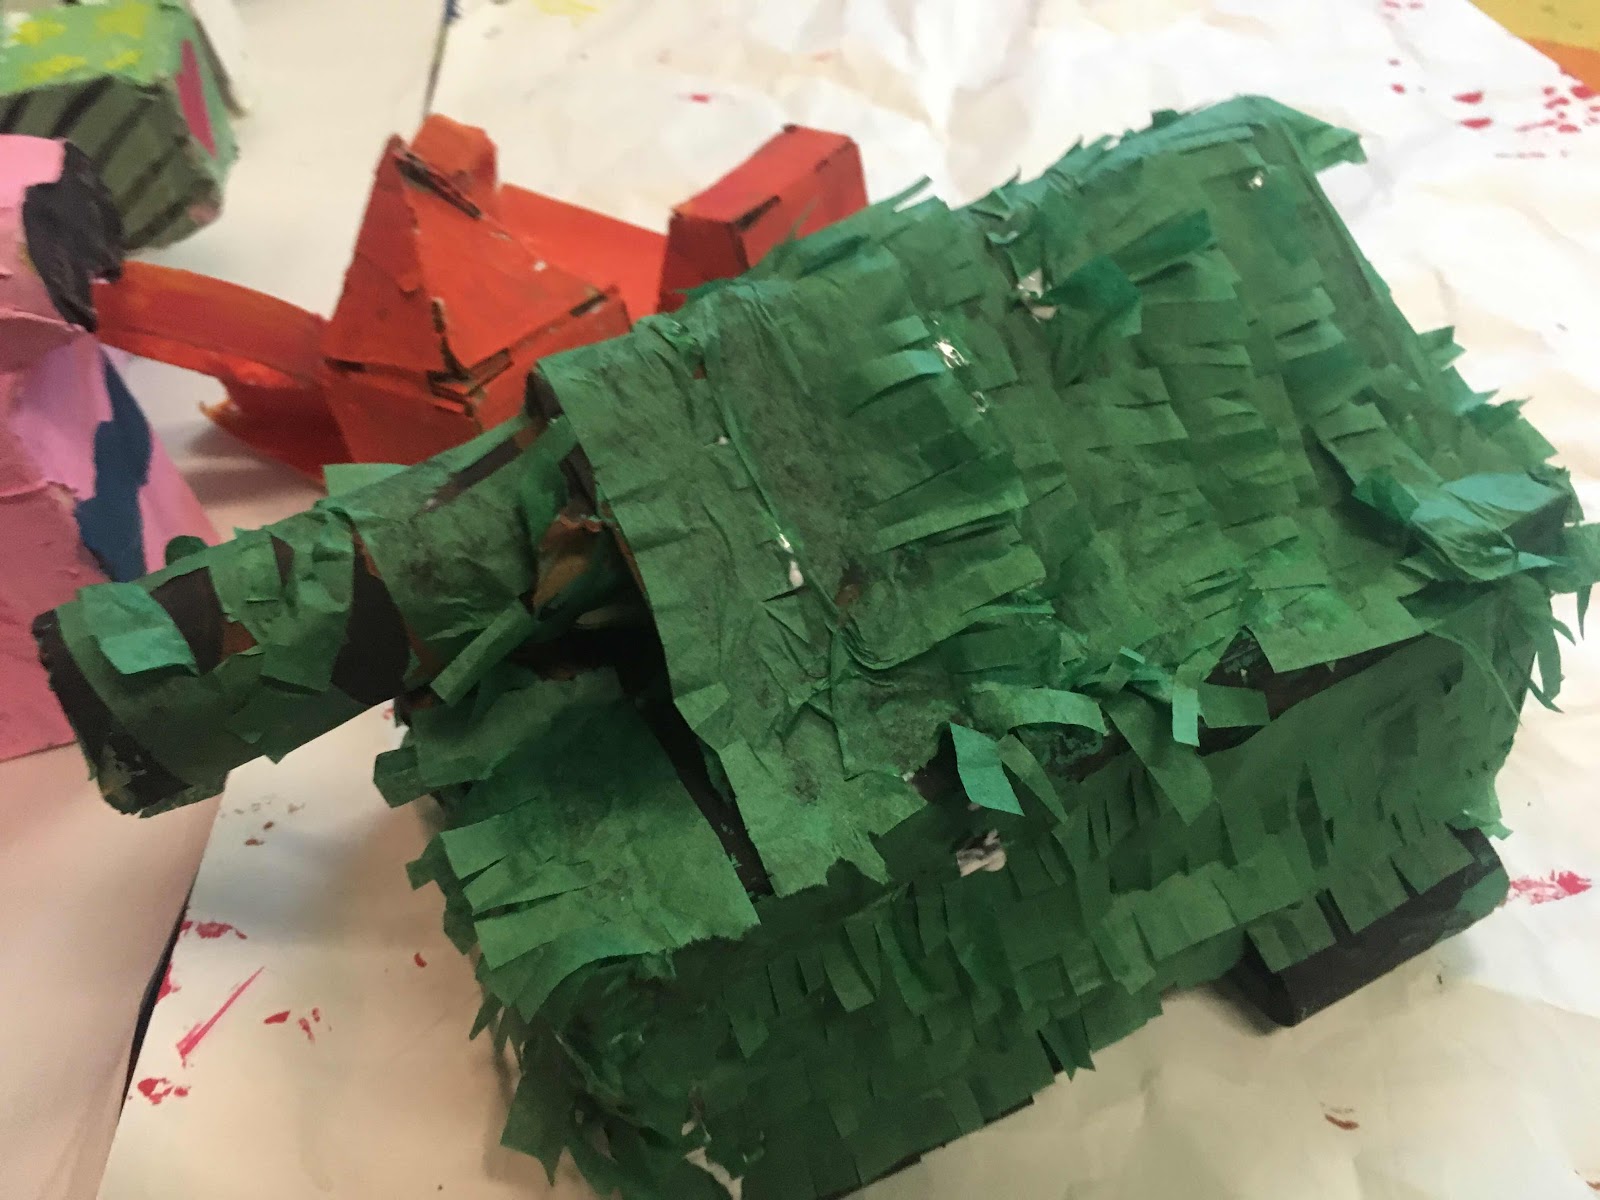
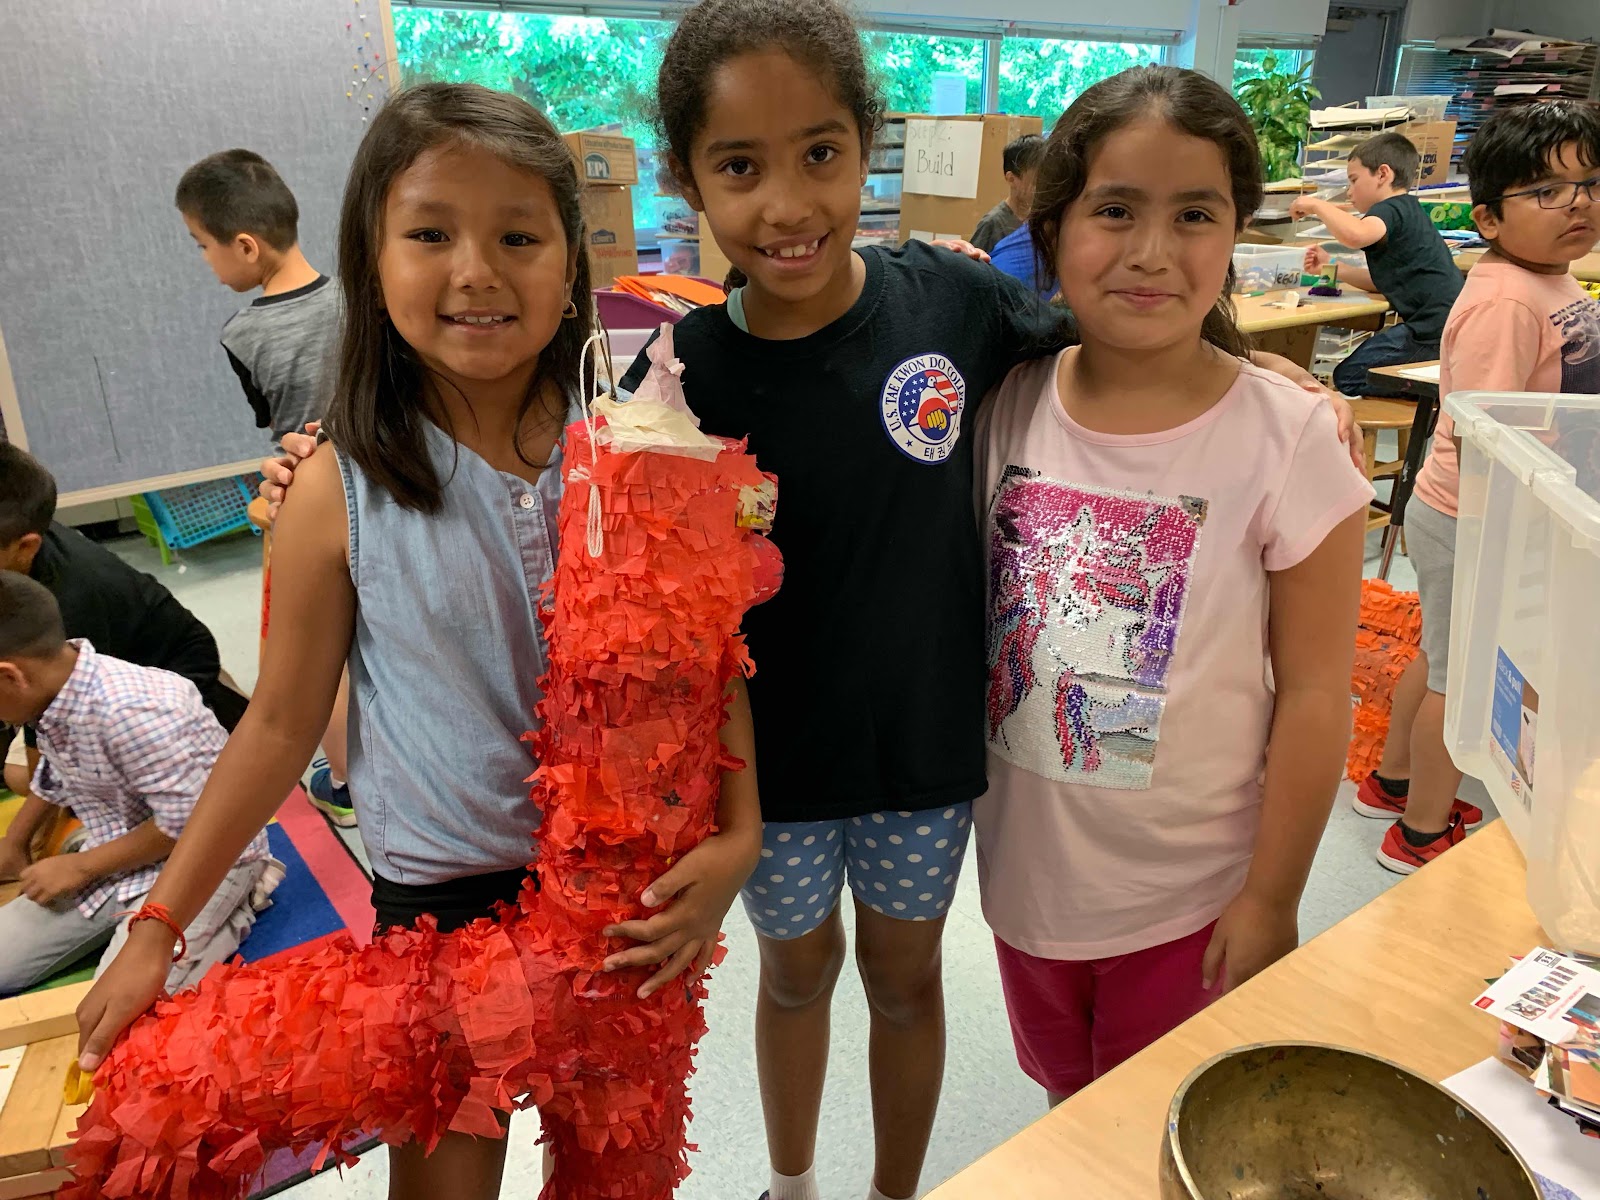
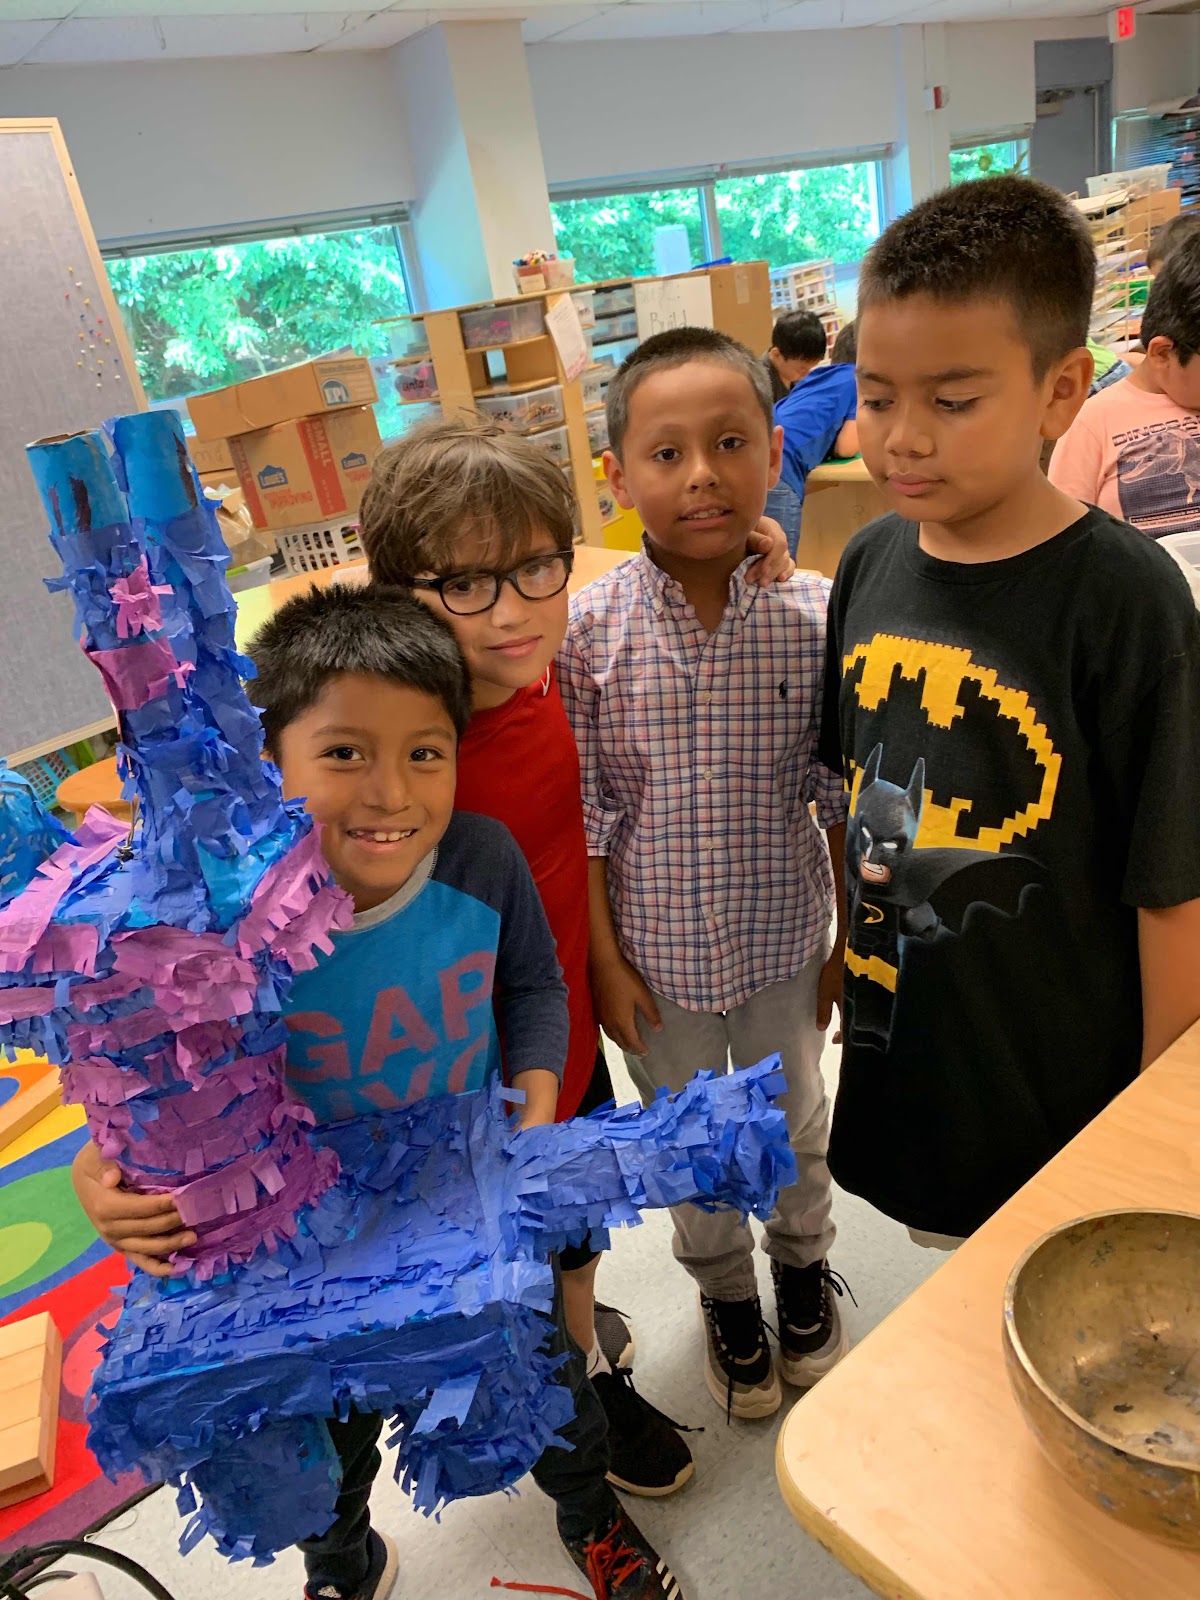
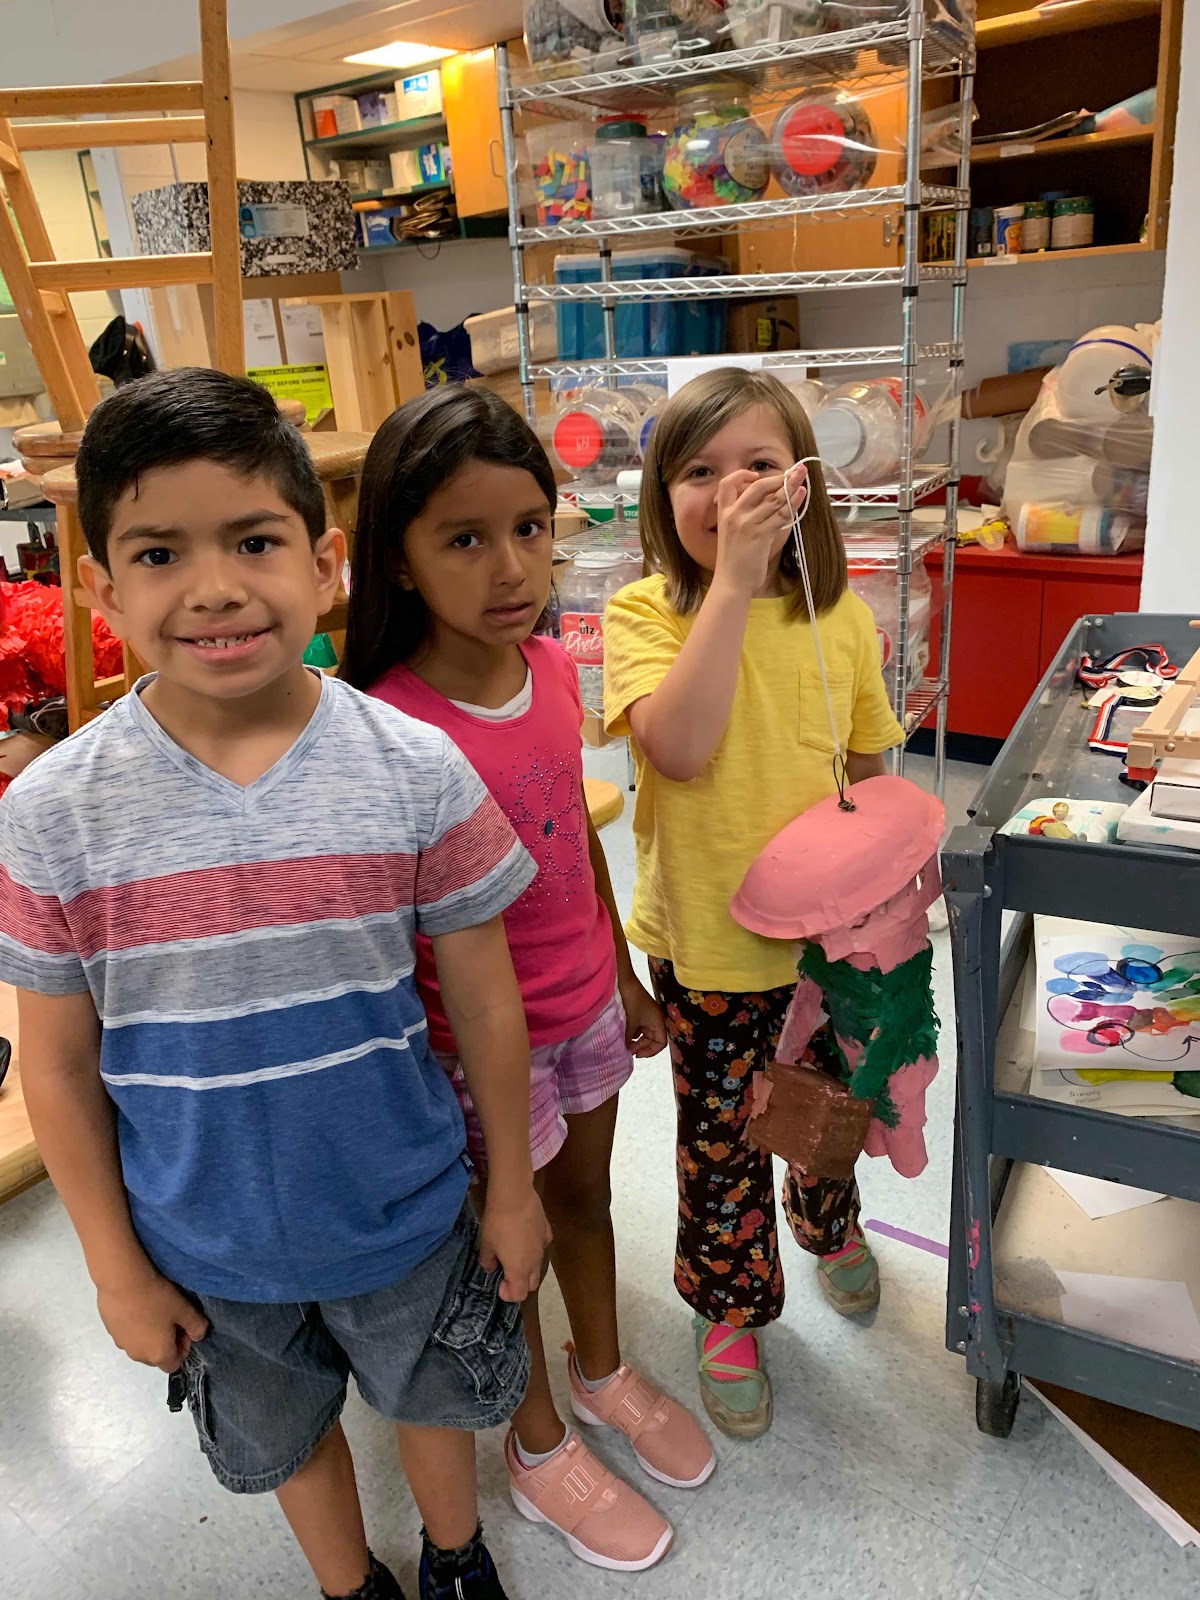
Some examples of their final pieces. When you give students the option to choose their own ideas and work with their own ideas to make their art the process is a much more rigorous one. Instead of the teacher coming up with the idea, the student has to search inside themselves for ideas, innovations, and answers.

When you allow students freedom in choosing their own subject matter, even if they all have the same medium (and in this case they do), students are the artists... instead of the teachers providing the idea behind the work, that task now belongs to the child.
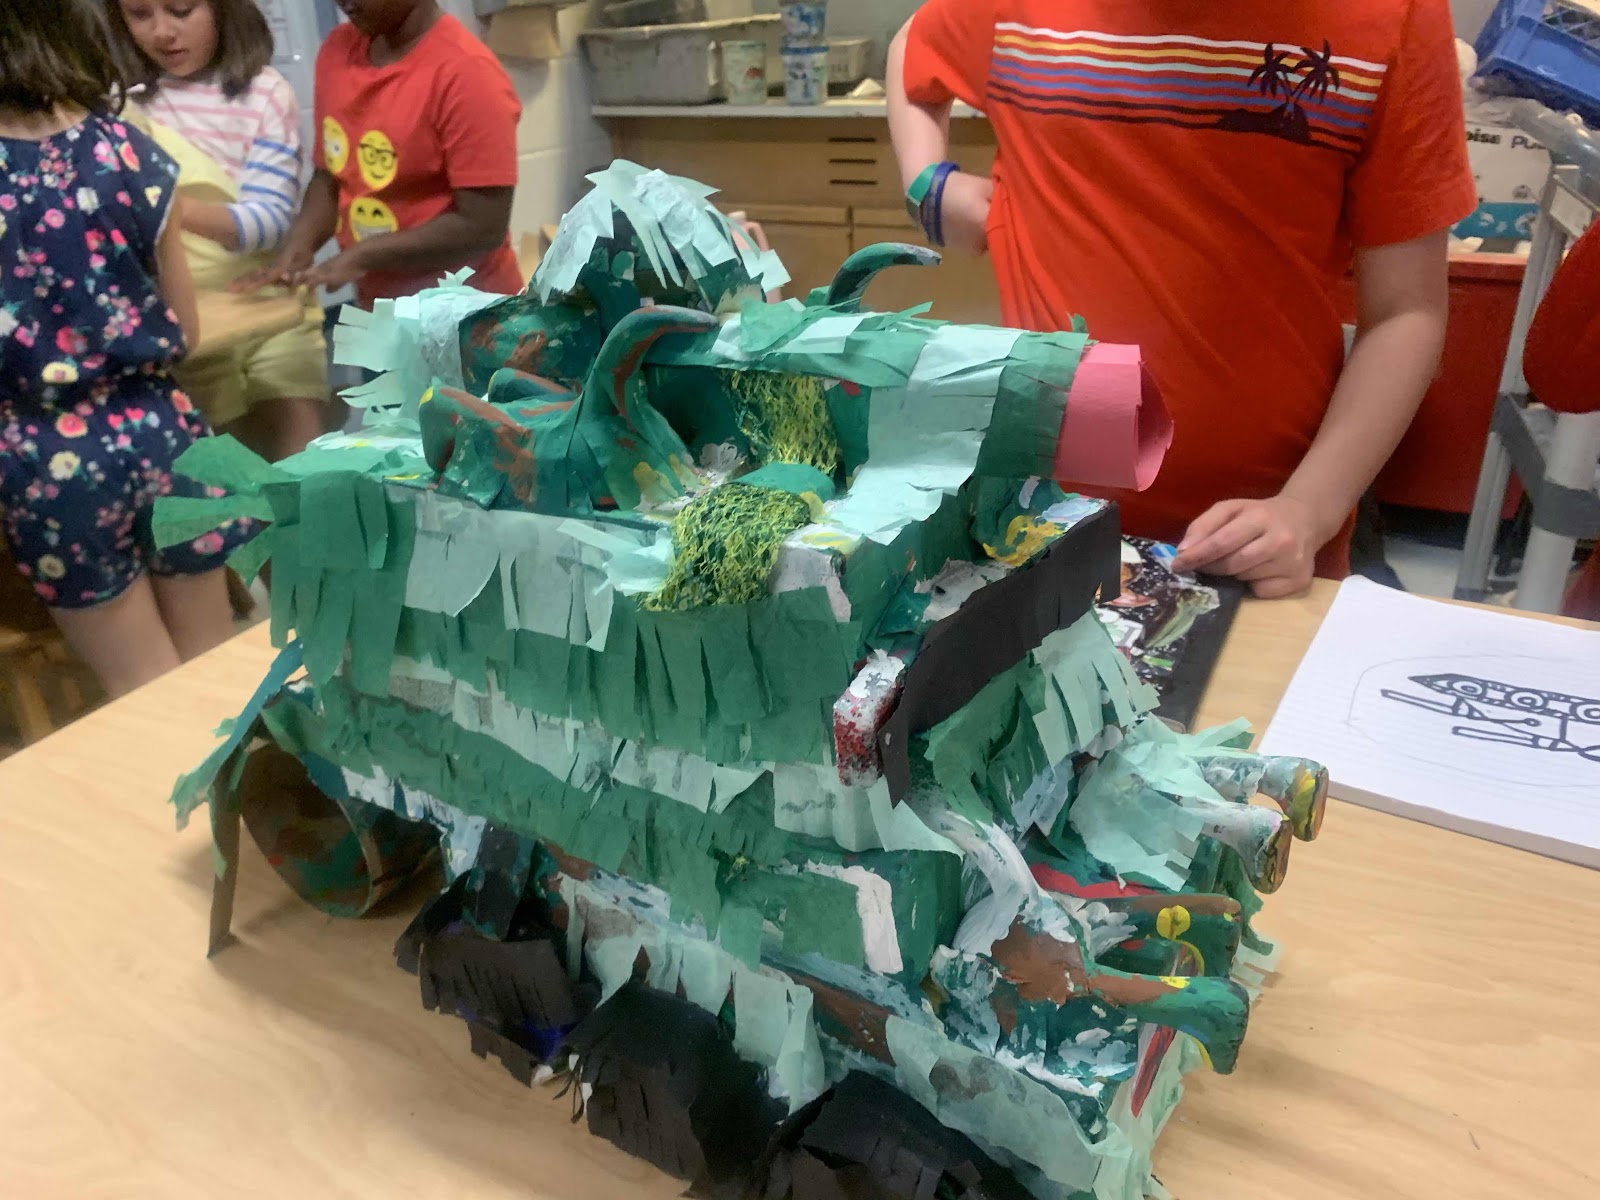
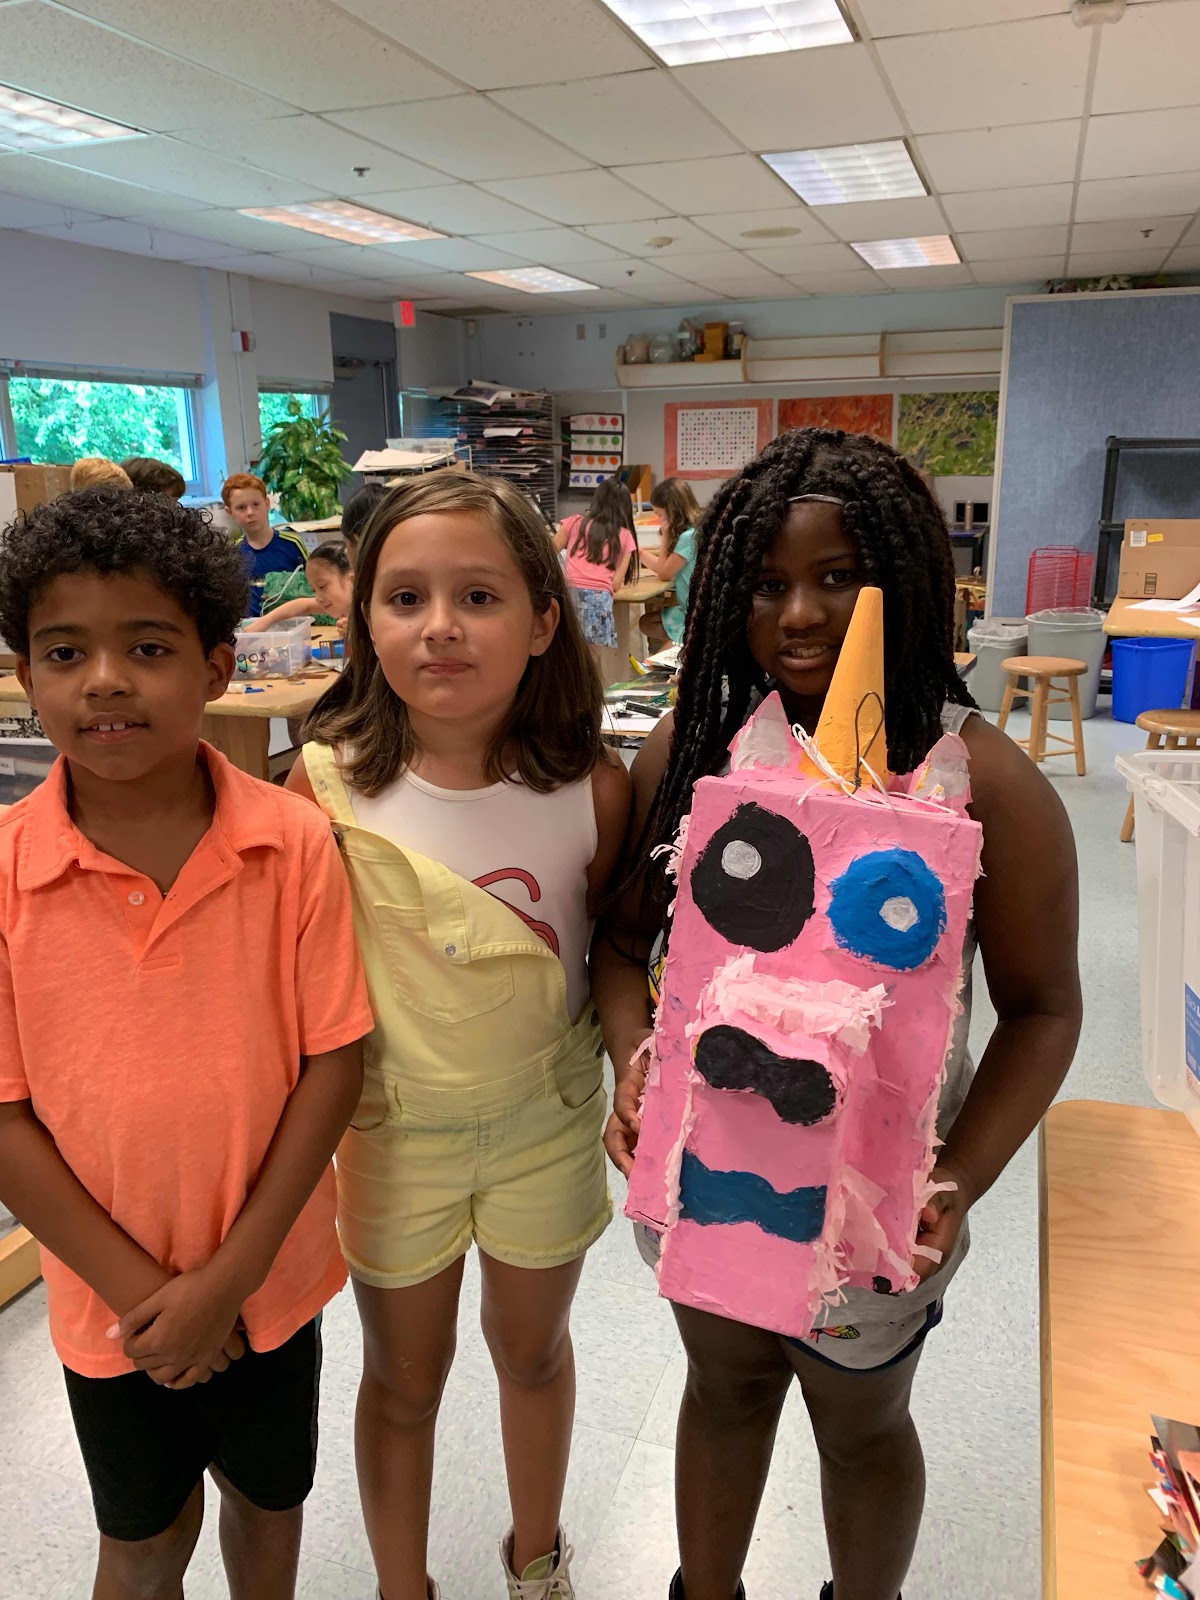
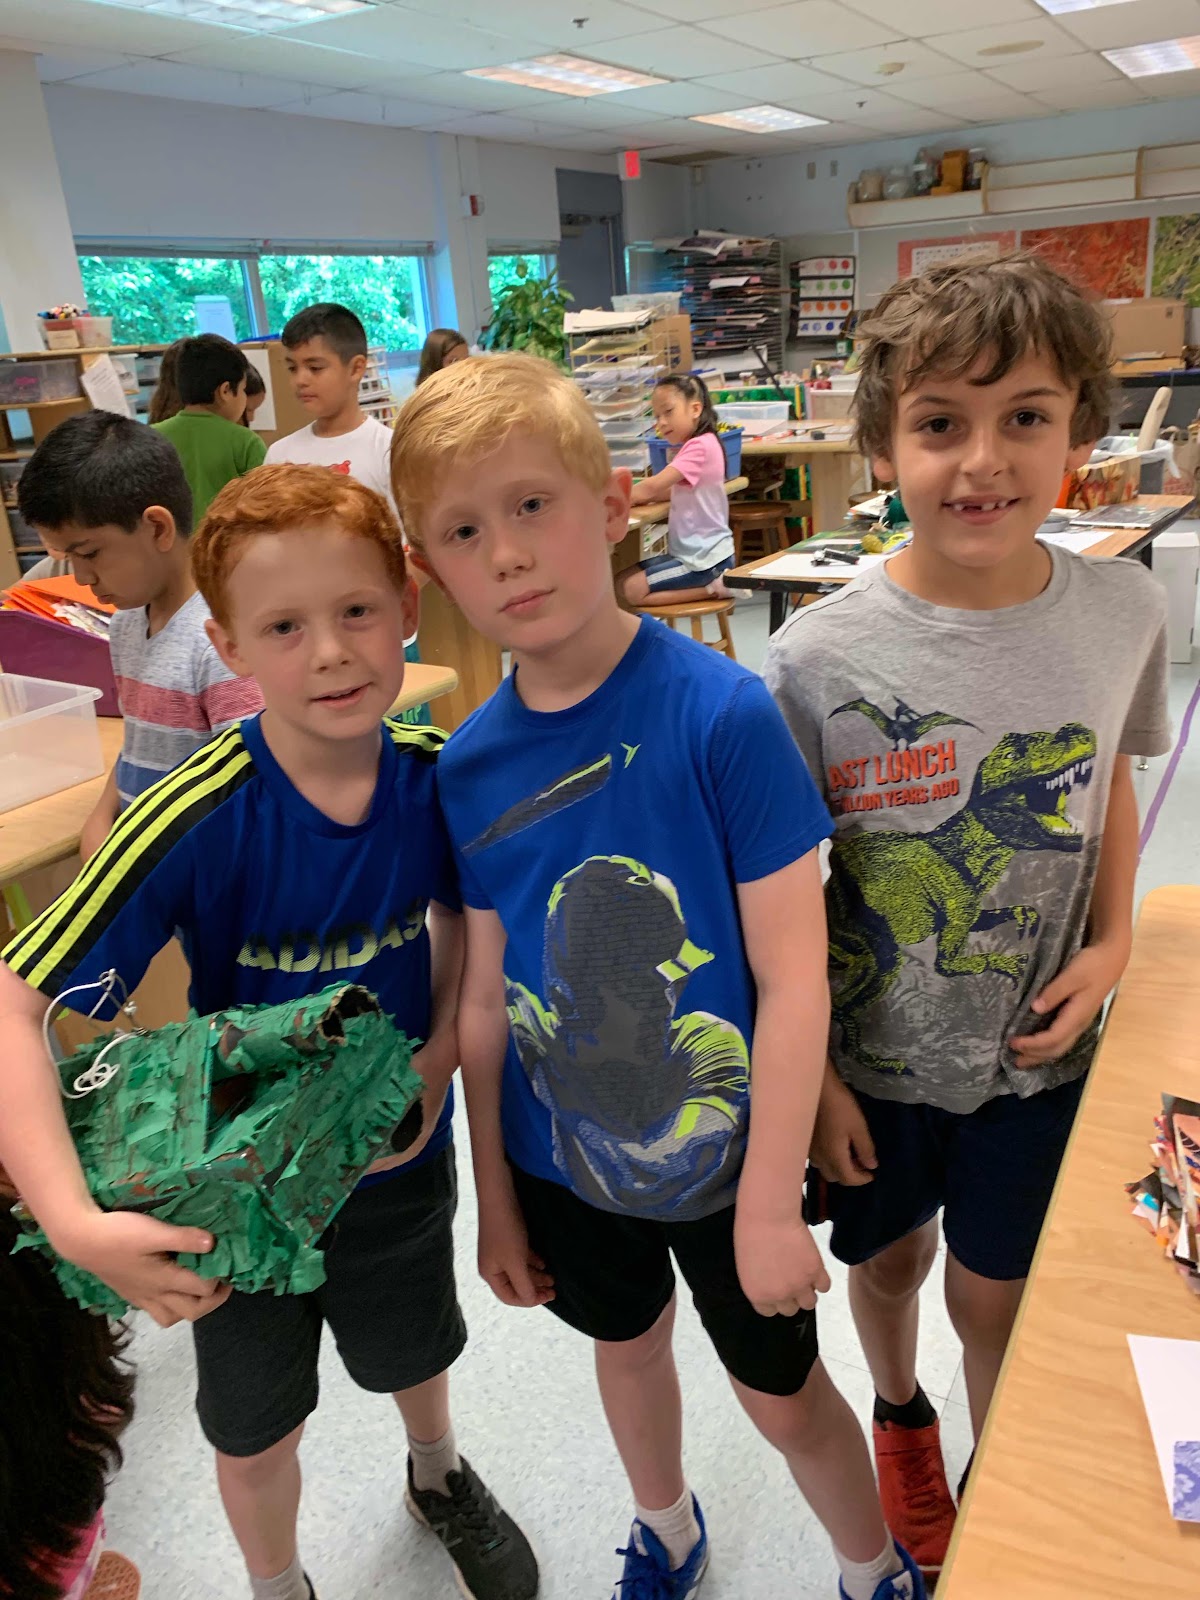
Here are some finished pieces.


More finished pieces...
I had a chance to display all the sculptures and allowed other classes and 4th graders come and enjoy seeing the work alongside their writing. I was amazed and surprised how interested the other students were to fins out more about the work they were seeing. Kids went from artwork to artwork reading each statement.

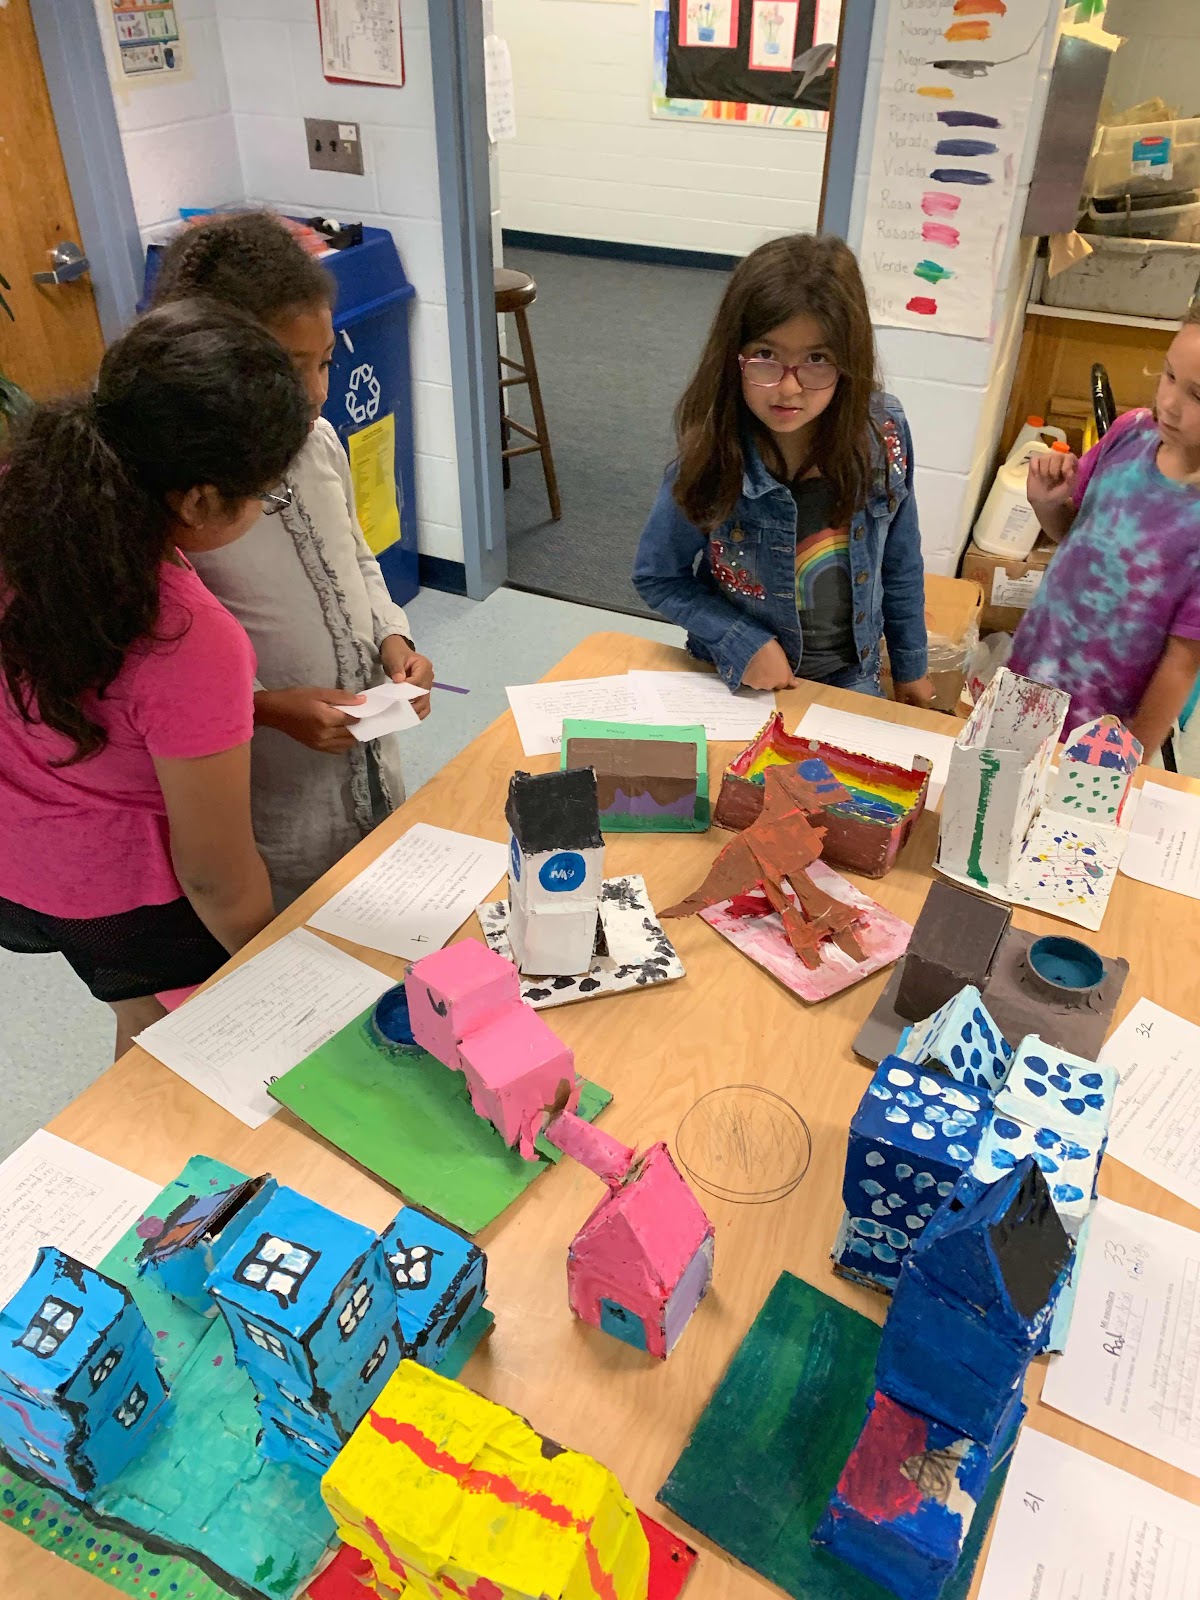
Each art paired with the writing piece by a number.